
Cranberry orange bread: just the name conjures up images of cozy mornings, the scent of citrus and warm spices filling the air, and a slice of pure, unadulterated comfort. Have you ever craved a treat that perfectly balances tartness and sweetness, all wrapped up in a tender, moist loaf? Then you’ve come to the right place! This isn’t just any bread; it’s a celebration of flavors that dance on your tongue.
While the exact origins of cranberry orange bread are a bit hazy, the combination of cranberries and oranges has long been a beloved pairing, particularly around the holidays. Cranberries, native to North America, were a staple food for indigenous peoples and later adopted by European settlers. Oranges, with their bright, sunny flavor, added a touch of exotic sweetness. Together, they create a symphony of taste that’s both familiar and exciting.
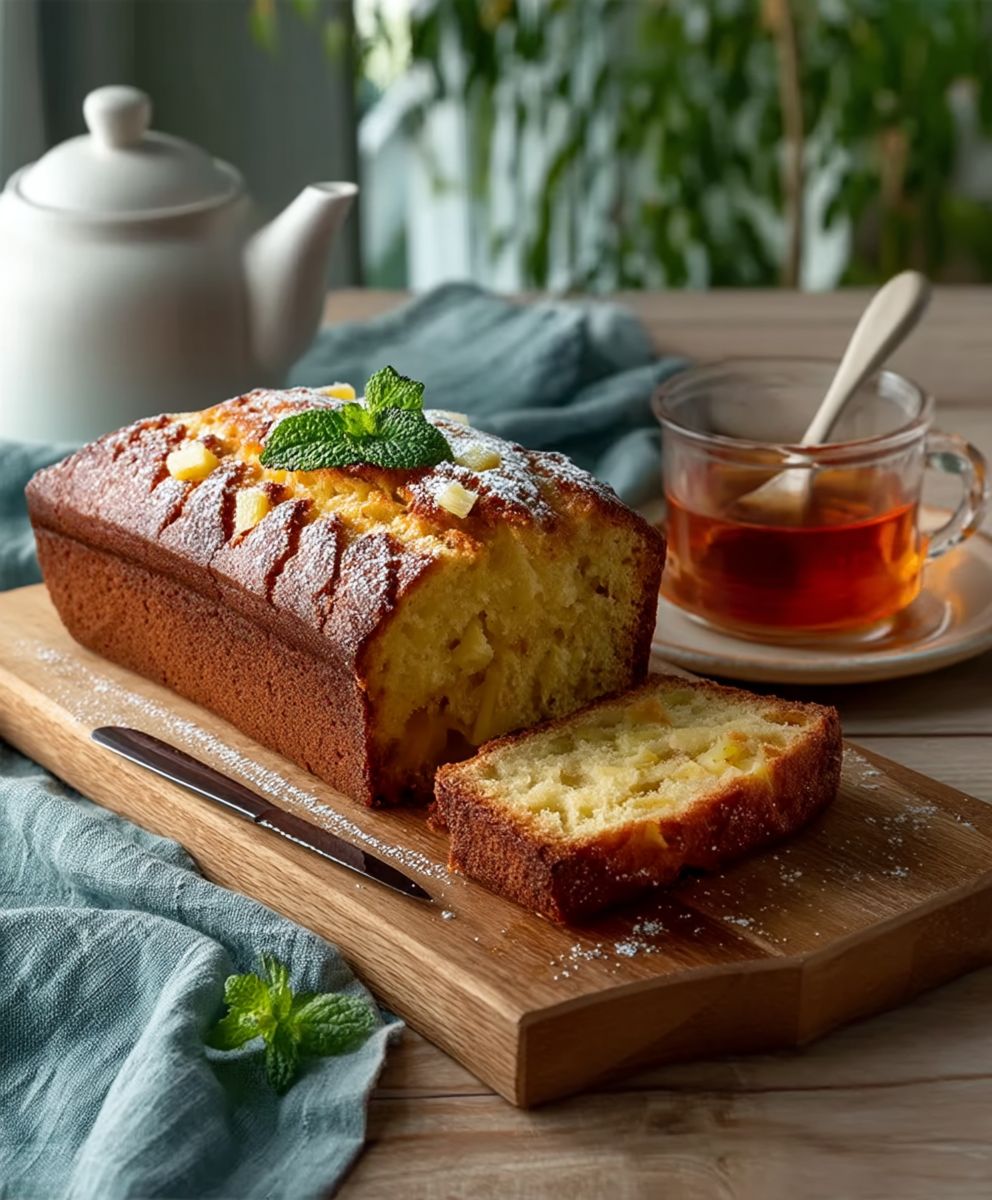
People adore cranberry orange bread for so many reasons. Its delightful tanginess cuts through the richness, preventing it from being overly sweet. The moist, tender crumb is incredibly satisfying, and the bursts of juicy cranberries add a delightful textural contrast. Plus, it’s incredibly versatile! Enjoy it as a breakfast treat, a delightful afternoon snack with a cup of tea, or even as a simple dessert. It’s easy to make, and the aroma while it bakes is simply divine. Get ready to experience a slice of heaven!

Ingredients:
- For the Pineapple Tea Bread:
- 2 cups all-purpose flour
- 1 teaspoon baking soda
- 1/2 teaspoon salt
- 1 teaspoon ground cinnamon
- 1/2 teaspoon ground nutmeg
- 1 cup granulated sugar
- 1/2 cup packed light brown sugar
- 1/2 cup vegetable oil
- 2 large eggs
- 1 teaspoon vanilla extract
- 1 (8 ounce) can crushed pineapple, undrained
- 1/2 cup chopped walnuts or pecans (optional)
- For the Optional Glaze:
- 1 cup powdered sugar
- 2-3 tablespoons pineapple juice (from the can of crushed pineapple) or milk
Preparing the Pineapple Tea Bread Batter
- Preheat the Oven and Prepare the Pan: I always start by preheating my oven to 350°F (175°C). While the oven is heating up, grease and flour a 9×5 inch loaf pan. You can also use baking spray with flour if you prefer. This step is crucial to prevent the bread from sticking to the pan. Trust me, you don’t want to skip this!
- Combine Dry Ingredients: In a large bowl, whisk together the flour, baking soda, salt, cinnamon, and nutmeg. Make sure everything is well combined. This ensures that the baking soda and spices are evenly distributed throughout the batter, which is key for a consistent rise and flavor. I like to use a whisk to get rid of any lumps in the flour.
- Combine Wet Ingredients: In a separate bowl, whisk together the granulated sugar, brown sugar, vegetable oil, eggs, and vanilla extract until well combined. The mixture should be smooth and slightly lighter in color. The brown sugar adds a lovely depth of flavor and moisture to the bread, so don’t skip it!
- Combine Wet and Dry Ingredients: Gradually add the wet ingredients to the dry ingredients, mixing until just combined. Be careful not to overmix! Overmixing can develop the gluten in the flour, resulting in a tough bread. I usually stop mixing when I still see a few streaks of flour.
- Add Pineapple and Nuts: Gently fold in the crushed pineapple (with its juice) and the chopped walnuts or pecans (if using). The pineapple adds moisture and a delicious tropical flavor to the bread. The nuts add a nice crunch and nutty flavor, but they’re totally optional if you’re not a fan. I sometimes substitute macadamia nuts for a more intense tropical flavor.
Baking the Pineapple Tea Bread
- Pour Batter into Pan: Pour the batter into the prepared loaf pan, spreading it evenly. I like to use a spatula to make sure the batter is evenly distributed.
- Bake: Bake for 50-60 minutes, or until a wooden skewer inserted into the center comes out clean. The baking time may vary depending on your oven, so start checking for doneness around 50 minutes. If the top of the bread is browning too quickly, you can tent it with aluminum foil.
- Cool: Let the bread cool in the pan for 10 minutes before transferring it to a wire rack to cool completely. This prevents the bread from sticking to the pan and allows it to cool evenly. I know it’s tempting to cut into it right away, but trust me, it’s worth the wait!
Preparing the Optional Glaze
- Combine Ingredients: In a small bowl, whisk together the powdered sugar and pineapple juice (or milk) until smooth. Add more liquid, one tablespoon at a time, until you reach your desired consistency. I prefer a glaze that’s thick enough to coat the bread but thin enough to drizzle easily.
- Drizzle Glaze: Once the bread is completely cool, drizzle the glaze over the top. Let the glaze set for a few minutes before slicing and serving. The glaze adds a touch of sweetness and makes the bread look even more appealing.
Tips and Variations
- Spice it up: For a spicier bread, add a pinch of ground cloves or ginger to the dry ingredients.
- Add dried fruit: Consider adding 1/2 cup of raisins, cranberries, or chopped dates to the batter for added texture and flavor.
- Use different nuts: Feel free to substitute other nuts, such as almonds or pecans, for the walnuts.
- Make muffins: You can also bake this batter in muffin tins. Fill each muffin cup about 2/3 full and bake for 18-20 minutes, or until a toothpick inserted into the center comes out clean.
- Storage: Store the cooled bread in an airtight container at room temperature for up to 3 days or in the refrigerator for up to a week. You can also freeze the bread for longer storage. Wrap it tightly in plastic wrap and then in foil before freezing.
- Pineapple variations: If you don’t have crushed pineapple, you can use pineapple tidbits or chunks. Just make sure to chop them finely before adding them to the batter.
- Oil substitutions: While I prefer vegetable oil for its neutral flavor, you can also use melted coconut oil or even unsweetened applesauce as a healthier alternative. Keep in mind that coconut oil will impart a slight coconut flavor to the bread.
- Sugar adjustments: You can adjust the amount of sugar to your liking. If you prefer a less sweet bread, reduce the amount of granulated sugar by 1/4 cup.
- Gluten-free option: To make this bread gluten-free, substitute the all-purpose flour with a gluten-free all-purpose flour blend. Make sure the blend contains xanthan gum for binding.
- Vegan option: To make this bread vegan, substitute the eggs with flax eggs (1 tablespoon of ground flaxseed mixed with 3 tablespoons of water per egg). Also, make sure the sugar you use is vegan-friendly.
Troubleshooting
- Bread is too dry: Make sure you’re measuring the flour correctly. Spoon the flour into the measuring cup and level it off with a knife. Don’t pack the flour into the cup. Also, make sure you’re not overbaking the bread.
- Bread is too dense: Make sure your baking soda is fresh. Old baking soda can lose its leavening power. Also, be careful not to overmix the batter.
- Bread is sinking in the middle: This can be caused by several factors, including overmixing the batter, using too much liquid, or not baking the bread long enough.
- Bread is sticking to the pan: Make sure you grease and flour the pan thoroughly before pouring in the batter. You can also use baking spray with flour.
- Glaze is too thick: Add more liquid, one teaspoon at a time, until you reach your desired consistency.
- Glaze is too thin: Add more powdered sugar, one tablespoon at a time, until you reach your desired consistency.
Serving Suggestions
- Breakfast or Brunch: Serve slices of pineapple tea bread with a cup of coffee or tea for a delicious and satisfying breakfast or brunch.
- Snack: Enjoy a slice of pineapple tea bread as a mid-afternoon snack.
- Dessert: Serve pineapple tea bread as a light dessert after dinner.
- With Cream Cheese: Spread cream cheese on a slice of pineapple tea bread for a richer and more decadent treat.
- Toasted: Toast slices of pineapple tea bread for a crispy and flavorful treat.
- Gift Giving: Pineapple tea bread makes a wonderful homemade gift for friends and family. Wrap it in cellophane and tie it with a ribbon for a thoughtful and delicious present.
Nutritional Information (approximate, per slice):
- Calories: 250-300
- Fat: 12-15g
- Saturated Fat: 2-3g
- Cholesterol: 30-40mg
- Sodium: 200-250mg
- Carbohydrates: 35-40g
- Sugar: 20-25g
- Protein: 3-4g
Note: Nutritional information is approximate and may vary depending on the specific ingredients used.
Enjoy your homemade Pineapple Tea Bread! I hope you love it as much as I do!
Conclusion:
This Pineapple Tea Bread isn’t just another recipe; it’s a slice of sunshine baked into a loaf! From the moment the sweet aroma fills your kitchen to the last crumb devoured, you’ll understand why I consider this a must-try. The moist, tender crumb, punctuated by the tangy sweetness of pineapple, creates a flavor profile that’s both comforting and exciting. It’s the perfect balance of sweet and tart, making it an irresistible treat for any time of day.
But what truly elevates this recipe is its versatility. While it’s absolutely divine served warm with a pat of butter and a cup of tea (hence the name!), the possibilities are endless. Imagine it toasted and topped with cream cheese for a delightful breakfast. Or, for a more decadent treat, try it grilled with a scoop of vanilla ice cream and a drizzle of caramel sauce. Seriously, the warm bread against the cold ice cream is a match made in heaven!
And don’t be afraid to experiment with variations! If you’re a fan of nuts, add a handful of chopped walnuts or pecans to the batter for a delightful crunch. For a tropical twist, consider incorporating shredded coconut or a splash of rum extract. You could even add a layer of cream cheese frosting on top once it’s cooled for an extra touch of indulgence. I’ve even tried adding a hint of cinnamon and nutmeg for a warm, spiced version that’s perfect for the fall. The beauty of this recipe is that it’s incredibly forgiving and adaptable to your own personal preferences.
I know you might be thinking, “Another baking recipe? Do I really need this?” And my answer is a resounding YES! This Pineapple Tea Bread is more than just a recipe; it’s an experience. It’s the joy of creating something delicious from scratch, the satisfaction of sharing it with loved ones, and the simple pleasure of enjoying a warm slice of homemade goodness. It’s a recipe that will become a staple in your kitchen, a go-to for potlucks, brunches, or simply a cozy afternoon treat.
So, what are you waiting for? Gather your ingredients, preheat your oven, and get ready to bake a loaf of pure happiness. I promise you won’t regret it. And once you’ve tried it, I’d absolutely love to hear about your experience! Did you stick to the original recipe, or did you add your own creative twist? What did your family and friends think? Share your photos and stories in the comments below I can’t wait to see what you create! Happy baking, and enjoy every delicious bite of your homemade Pineapple Tea Bread! I’m confident that this will become a favorite in your household, just as it has in mine. It’s a simple recipe, but the results are truly extraordinary. Don’t hesitate, bake it today!
Pineapple Tea Bread: The Ultimate Recipe and Baking Guide
Moist and flavorful tea bread infused with the tropical sweetness of pineapple. Perfect for breakfast, brunch, or a delightful afternoon treat.
Ingredients
* 2 cups all-purpose flour
* 1 teaspoon baking soda
* 1/2 teaspoon salt
* 1 cup granulated sugar
* 1/2 cup packed brown sugar
* 1/2 cup vegetable oil
* 2 large eggs
* 1 teaspoon vanilla extract
* 1 (20 ounce) can crushed pineapple, undrained
- 2 cups all-purpose flour
- 1 teaspoon baking soda
- 1/2 teaspoon salt
- 1 cup granulated sugar
- 1/2 cup packed brown sugar
- 1/2 cup vegetable oil
- 2 large eggs
- 1 teaspoon vanilla extract
- 1 (20 ounce) can crushed pineapple, undrained
Instructions
- Preheat oven to 350 degrees F (175 degrees C). Grease and flour a 9×5 inch loaf pan.
- In a large bowl, cream together the butter, sugar, and eggs until light and fluffy. Beat in the pineapple.
- Combine the flour, baking soda, and salt; stir into the creamed mixture alternately with the buttermilk.
- Pour batter into the prepared pan and bake for 60 minutes, or until a toothpick inserted into the center comes out clean.
- Let cool in the pan for 10 minutes before removing to a wire rack to cool completely.
Notes
- For best results, use very ripe pineapple.
- If you don’t have self-rising flour, you can make your own by combining all-purpose flour with baking powder and salt. See recipe for amounts.
- The glaze is optional, but it adds a nice touch of sweetness.
“`


Leave a Comment