
Sautéed Green Peas Bacon Dish is a delightful combination that brings together the sweetness of fresh green peas and the savory richness of crispy bacon. This dish is not just a side; its a celebration of flavors that can elevate any meal. Originating from traditional home-cooked meals, sautéed green peas have been a staple in many cultures, often served during family gatherings and festive occasions. The vibrant green color and the satisfying crunch of bacon make this dish visually appealing and utterly irresistible.
People love this sautéed green peas bacon dish for its simplicity and versatility. The tender peas provide a burst of freshness, while the bacon adds a smoky depth that creates a perfect balance. Whether youre looking for a quick weeknight side or a dish to impress your guests, this recipe is both convenient and delicious. Join me as we explore how to create this mouthwatering dish that is sure to become a favorite in your kitchen!

Ingredients:
- 2 cups fresh or frozen green peas
- 4 slices of bacon, chopped
- 1 medium onion, finely chopped
- 2 cloves garlic, minced
- 1 tablespoon olive oil
- Salt, to taste
- Black pepper, to taste
- 1 teaspoon sugar (optional, to balance the flavors)
- 1 tablespoon fresh lemon juice (optional, for brightness)
- Fresh parsley, chopped (for garnish)
Preparing the Ingredients
1. **Chop the Bacon**: Start by chopping the bacon into small pieces. I like to use kitchen scissors for this, as it makes the process quick and easy. Set the chopped bacon aside. 2. **Chop the Onion**: Next, peel and finely chop the onion. The smaller the pieces, the better they will caramelize and blend with the peas. 3. **Mince the Garlic**: Peel the garlic cloves and mince them finely. Garlic adds a wonderful aroma and flavor to the dish, so dont skip this step! 4. **Prepare the Peas**: If youre using fresh peas, shell them and rinse them under cold water. If youre using frozen peas, theres no need to thaw them; they can go straight into the pan. 5. **Gather Your Seasonings**: Measure out the salt, black pepper, and sugar (if using). Having everything ready will make the cooking process smoother.Cooking Process
1. **Cook the Bacon**: In a large skillet, heat the olive oil over medium heat. Once the oil is hot, add the chopped bacon. Cook the bacon for about 5-7 minutes, stirring occasionally, until its crispy and golden brown. The bacon will render its fat, which will add flavor to the dish. 2. **Sauté the Onion**: Once the bacon is crispy, add the chopped onion to the skillet. Stir it into the bacon and cook for about 3-4 minutes, or until the onion becomes translucent and soft. The combination of bacon and onion creates a delicious base for the peas. 3. **Add the Garlic**: Now, add the minced garlic to the skillet. Sauté for about 30 seconds, just until the garlic becomes fragrant. Be careful not to burn it, as burnt garlic can turn bitter. 4. **Incorporate the Peas**: Add the green peas to the skillet. If youre using frozen peas, theres no need to thaw them first; just toss them in directly. Stir everything together, ensuring the peas are well coated with the bacon, onion, and garlic mixture. 5. **Season the Dish**: Sprinkle in the salt and black pepper to taste. If youre using sugar, add it now to balance the flavors. Stir everything well to combine. 6. **Cook the Peas**: Allow the peas to cook for about 5-7 minutes, stirring occasionally. If youre using fresh peas, they will take a bit longer to cook than frozen ones. You want them to be tender but still vibrant green. If you find the mixture is getting too dry, you can add a splash of water or broth to help steam the peas. 7. **Add Lemon Juice**: If youre using lemon juice, drizzle it over the peas in the last minute of cooking. This will add a lovely brightness to the dish and enhance the flavors.Assembling the Dish
1. **Taste and Adjust**: Before serving, taste the sautéed peas and adjust the seasoning if necessary. You might want to add a bit more salt, pepper, or lemon juice depending on your preference. 2. **Garnish**: Once youre satisfied with the flavor, remove the skillet from the heat. Transfer the sautéed green peas to a serving dish. Sprinkle freshly chopped parsley on top for a pop of color and freshness. 3. **Serve**: This dish can be served warm as a side or even as a light main course. It pairs beautifully with grilled meats, roasted chicken, or even a simple salad. 4. **Enjoy**: Dig in and enjoy the delightful combination of crispy bacon, sweet peas, and aromatic garlic and onion. This dish is not only delicious but also a great way to incorporate vegetables into your meal.Storage Tips
1. **Refrigerate**: If you have leftovers, let the sautéed peas cool completely before transferring them to an airtight container. They can be stored in the refrigerator for up to 3 days. 2. **Reheat**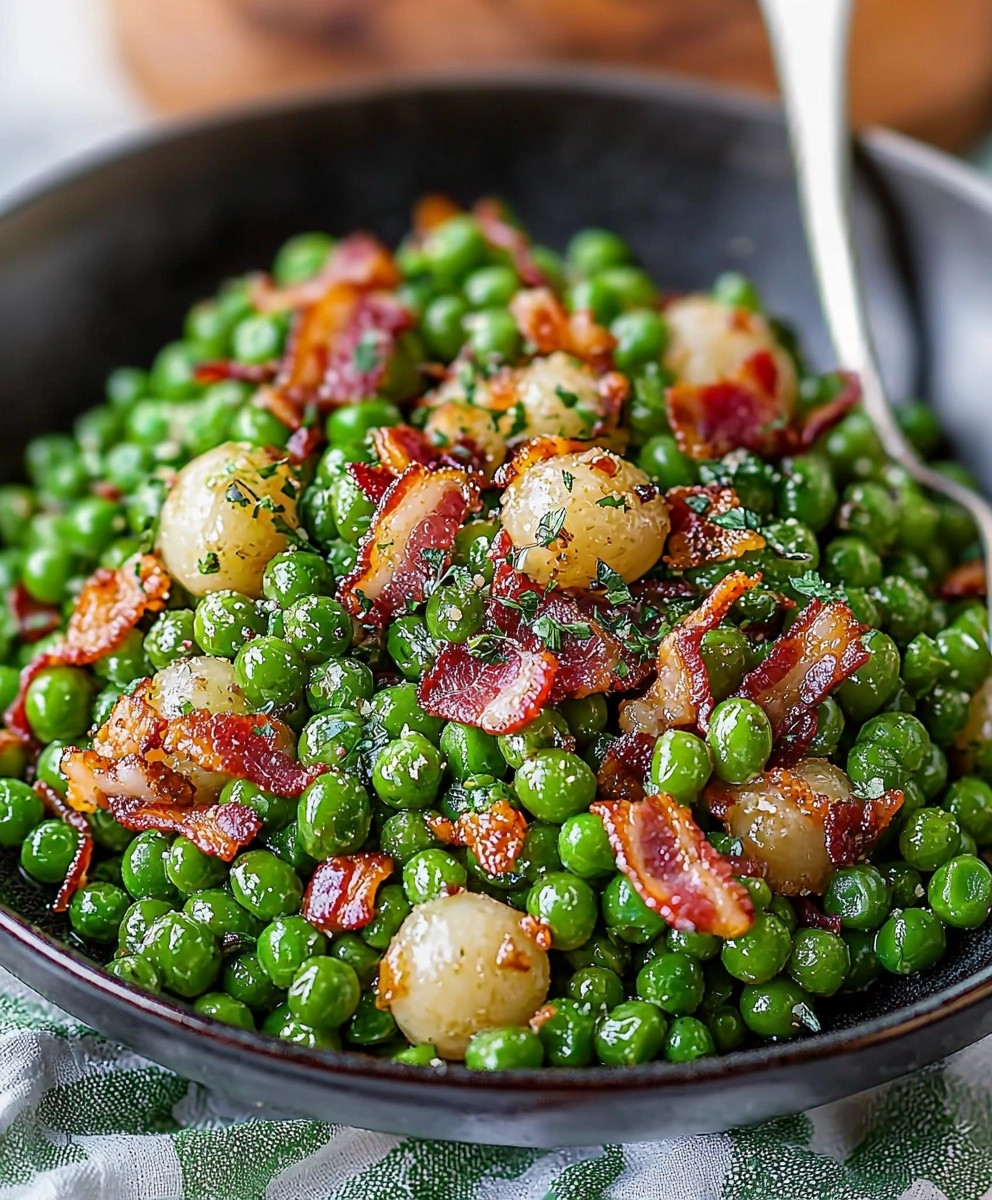
Conclusion:
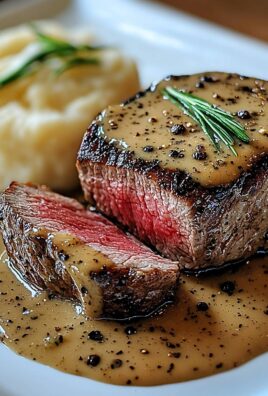
In conclusion, this Sautéed Green Peas Bacon Dish is an absolute must-try for anyone looking to elevate their culinary repertoire. The combination of sweet, tender green peas and crispy, savory bacon creates a delightful harmony of flavors that is sure to impress your family and friends. Not only is this dish incredibly easy to prepare, but it also brings a burst of color and freshness to your table, making it perfect for any occasion, from casual weeknight dinners to festive gatherings. For serving suggestions, consider pairing this dish with grilled chicken or fish for a complete meal, or serve it alongside a hearty grain like quinoa or rice to soak up all the delicious flavors. If you’re feeling adventurous, you can also experiment with variations by adding ingredients like garlic, onions, or even a sprinkle of Parmesan cheese for an extra layer of richness. I wholeheartedly encourage you to give this Sautéed Green Peas Bacon Dish a try. I promise you wont be disappointed! Once youve made it, Id love to hear about your experience. Share your thoughts, any tweaks you made, or even a photo of your creation. Lets celebrate the joy of cooking together! Print
Sautéed Green Peas Bacon Dish: A Delicious and Easy Recipe to Try
- Total Time: 30 minutes
- Yield: 4 servings 1x
Description
Sautéed green peas with crispy bacon, garlic, and sweet onions create a deliciously simple side dish that’s perfect for any meal. This vibrant dish is quick to prepare and pairs wonderfully with grilled meats or can be enjoyed on its own.
Ingredients
- 2 cups fresh or frozen green peas
- 4 slices of bacon, chopped
- 1 medium onion, finely chopped
- 2 cloves garlic, minced
- 1 tablespoon olive oil
- Salt, to taste
- Black pepper, to taste
- 1 teaspoon sugar (optional, to balance the flavors)
- 1 tablespoon fresh lemon juice (optional, for brightness)
- Fresh parsley, chopped (for garnish)
Instructions
- Chop the bacon into small pieces and set aside.
- Peel and finely chop the onion.
- Peel and mince the garlic cloves finely.
- If using fresh peas, shell and rinse them; if using frozen peas, they can go straight into the pan.
- Measure out salt, black pepper, and sugar (if using).
- In a large skillet, heat olive oil over medium heat and add the chopped bacon. Cook for 5-7 minutes until crispy and golden brown.
- Add the chopped onion to the skillet and cook for 3-4 minutes until translucent and soft.
- Stir in the minced garlic and sauté for about 30 seconds until fragrant.
- Add the green peas to the skillet, stirring to coat them with the bacon, onion, and garlic mixture.
- Sprinkle in salt and black pepper to taste. If using, add sugar to balance flavors.
- Cook for 5-7 minutes, stirring occasionally, until peas are tender but vibrant green. Add a splash of water or broth if needed.
- Drizzle lemon juice over the peas in the last minute of cooking for added brightness.
- Taste the sautéed peas and adjust seasoning as needed.
- Transfer to a serving dish and sprinkle with freshly chopped parsley.
- Serve warm as a side or light main course.
- Enjoy the delightful combination of flavors!
- Let leftovers cool completely before transferring to an airtight container and store in the refrigerator for up to 3 days.
- Reheat in a skillet over low heat until warmed through.
Notes
- Der Teig darf während der Ruhezeit nicht bewegt werden.
- Für ein intensiveres Knoblaucharoma können mehr Zehen verwendet werden.
- Prep Time: 15 minutes
- Cook Time: 15 minutes


Leave a Comment