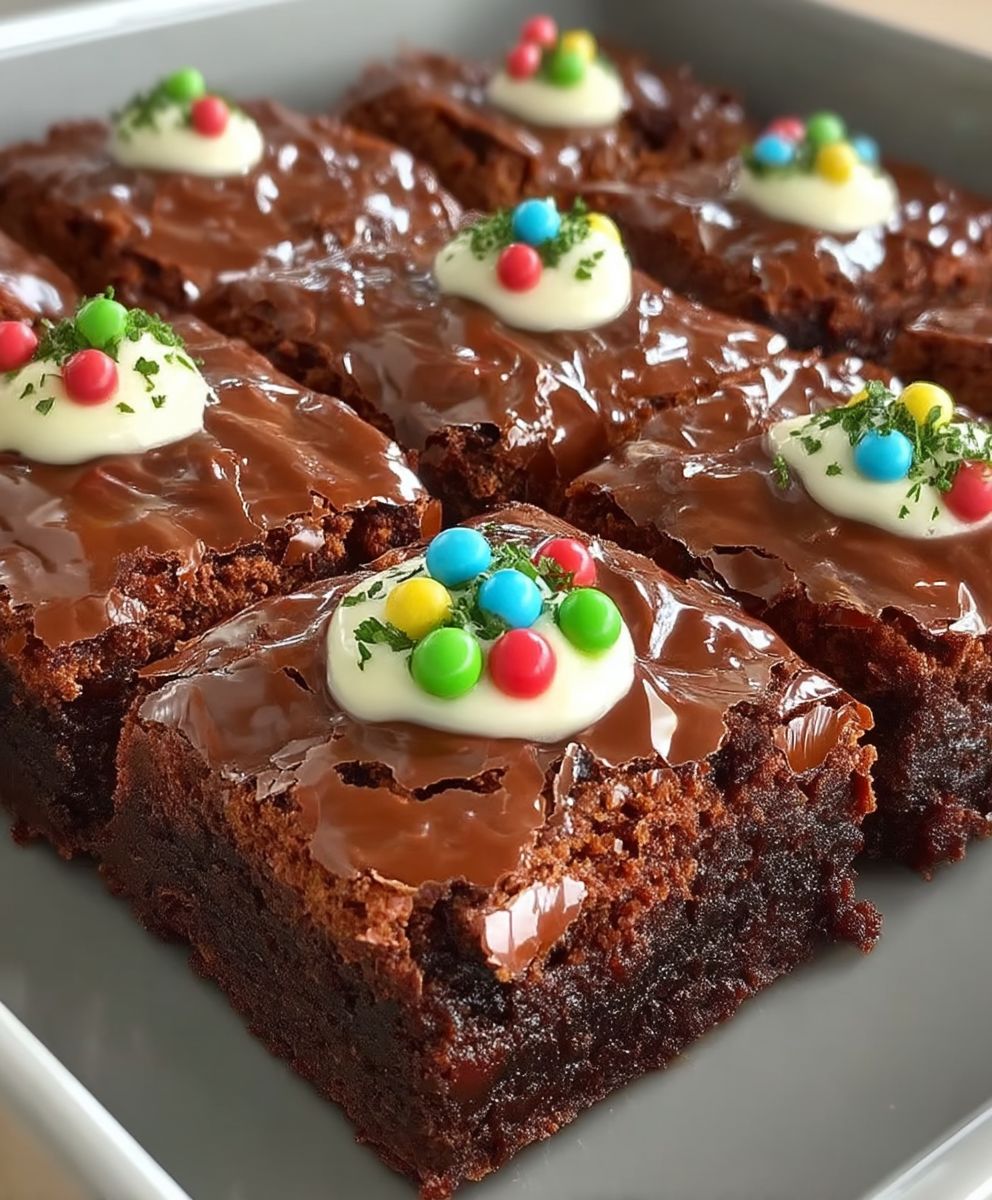
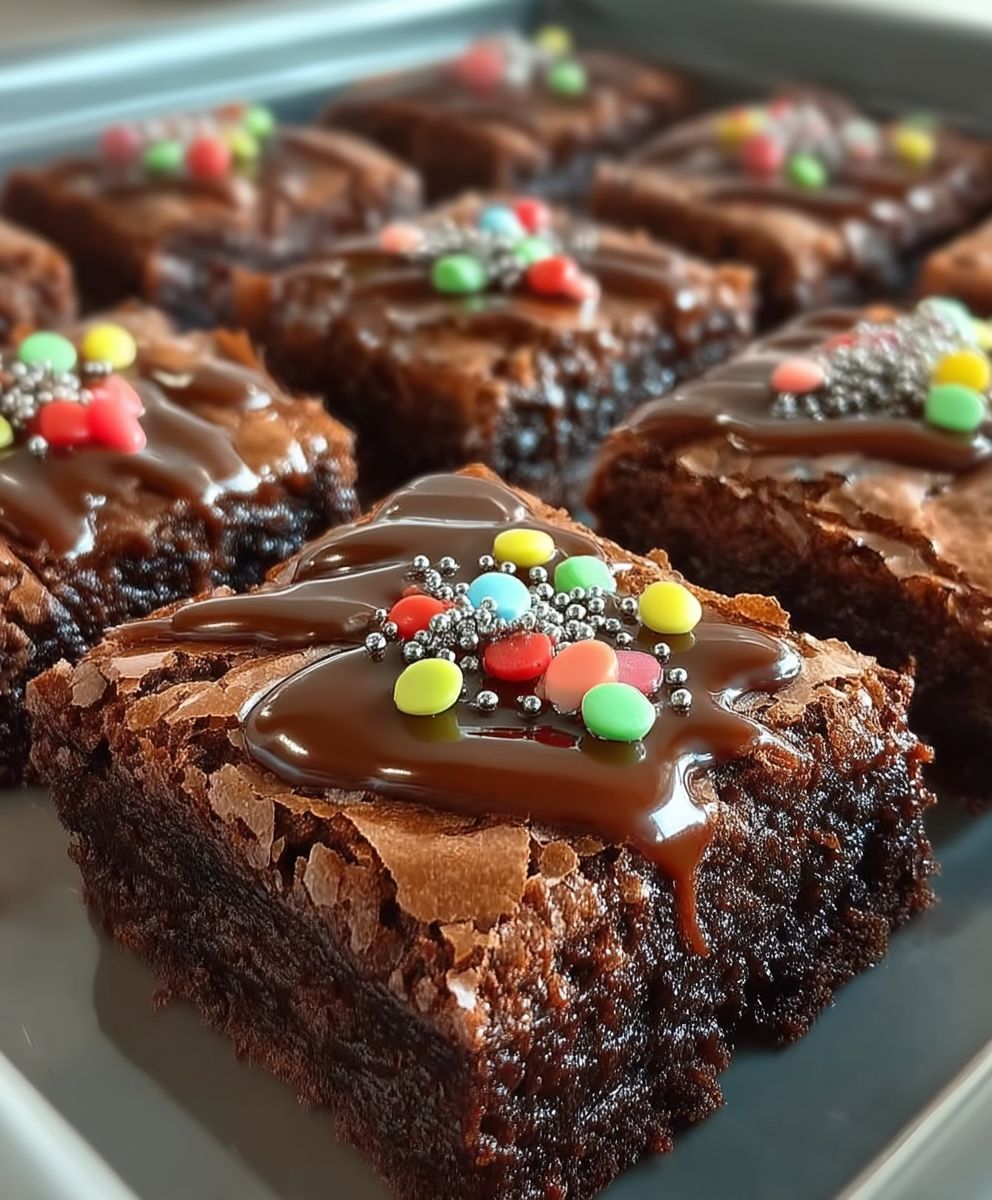
Dr Pepper Brownies: Prepare to have your dessert expectations delightfully shattered! Imagine sinking your teeth into a fudgy, intensely chocolatey brownie, but with a subtle, effervescent twist that dances on your tongue. That’s precisely what you get with these incredible Dr Pepper Brownies, and trust me, they are addictive.
While the exact origins of incorporating soda into baked goods are a bit murky, the practice gained popularity in the mid-20th century as home cooks experimented with readily available ingredients to enhance flavor and moisture. Dr Pepper, with its unique blend of 23 flavors, lends a depth and complexity that elevates the humble brownie to a whole new level. It’s a clever way to add a touch of nostalgia and surprise to a classic treat.
People adore these Dr Pepper Brownies for several reasons. First, the taste is simply irresistible. The Dr Pepper enhances the chocolate flavor, creating a richer, more nuanced profile. Second, the texture is divine incredibly moist and fudgy, thanks to the soda’s contribution. Finally, they are surprisingly easy to make! With just a few simple ingredients and minimal effort, you can whip up a batch of these crowd-pleasing brownies that will have everyone begging for the recipe. So, are you ready to experience the magic of Dr Pepper in a brownie? Let’s get baking!
Ingredients:
- 1 cup (2 sticks) unsalted butter, softened
- 4 ounces unsweetened chocolate, melted and cooled
- 2 cups granulated sugar
- 4 large eggs
- 1 tablespoon vanilla extract
- 1 1/2 cups all-purpose flour
- 1 teaspoon baking powder
- 1/2 teaspoon salt
- 1 cup chopped walnuts or pecans (optional)
- For the Frosting:
- 1/2 cup (1 stick) unsalted butter, softened
- 3 cups powdered sugar
- 1/2 cup unsweetened cocoa powder
- 1/3 cup milk
- 1 teaspoon vanilla extract
Preparing the Brownie Batter:
- Cream the Butter and Sugar: In a large bowl, or the bowl of your stand mixer, cream together the softened butter and granulated sugar until light and fluffy. This usually takes about 3-5 minutes. Make sure your butter is truly softened, but not melted, for the best results. You want a smooth, creamy mixture.
- Incorporate the Melted Chocolate: Gradually pour in the cooled melted chocolate, mixing until well combined. Be careful not to add the chocolate while it’s too hot, as it could cook the eggs later on. The mixture will become a rich, dark brown color.
- Add the Eggs and Vanilla: Beat in the eggs one at a time, mixing well after each addition. Then, stir in the vanilla extract. This is where the batter starts to come together and develop its characteristic brownie texture.
- Combine Dry Ingredients: In a separate medium bowl, whisk together the all-purpose flour, baking powder, and salt. Whisking ensures that the baking powder and salt are evenly distributed throughout the flour, which is crucial for proper leavening and flavor.
- Gradually Add Dry Ingredients to Wet Ingredients: Gradually add the dry ingredients to the wet ingredients, mixing on low speed until just combined. Be careful not to overmix, as this can lead to tough brownies. Stop mixing as soon as you no longer see streaks of flour.
- Stir in Nuts (Optional): If you’re using nuts, gently fold them into the batter. I love the added crunch and flavor that walnuts or pecans bring to these brownies.
Baking the Brownies:
- Prepare the Baking Pan: Preheat your oven to 350°F (175°C). Grease and flour a 9×13 inch baking pan. Alternatively, you can line the pan with parchment paper, leaving an overhang on the sides for easy removal. This is my preferred method, as it guarantees that the brownies won’t stick to the pan.
- Pour Batter into Pan: Pour the brownie batter into the prepared pan and spread it evenly. Use a spatula to ensure that the batter reaches all corners of the pan.
- Bake the Brownies: Bake for 25-30 minutes, or until a toothpick inserted into the center comes out with moist crumbs attached. Be careful not to overbake the brownies, as they will become dry and crumbly. The baking time may vary depending on your oven, so keep a close eye on them.
- Cool Completely: Remove the brownies from the oven and let them cool completely in the pan before frosting. This is important because if you frost them while they’re still warm, the frosting will melt and become runny. I usually let them cool for at least an hour, or even longer if I have the time.
Making the Frosting:
- Cream the Butter: In a large bowl, or the bowl of your stand mixer, cream the softened butter until smooth and fluffy. Again, make sure your butter is softened, but not melted.
- Add Powdered Sugar and Cocoa Powder: Gradually add the powdered sugar and cocoa powder to the butter, mixing on low speed until combined. Start with a low speed to prevent the powdered sugar from flying everywhere.
- Add Milk and Vanilla: Gradually add the milk and vanilla extract, mixing until the frosting is smooth and creamy. You may need to add a little more milk if the frosting is too thick, or a little more powdered sugar if it’s too thin. Adjust to your desired consistency.
- Beat Until Fluffy: Beat the frosting on medium speed for 2-3 minutes, or until it is light and fluffy. This will help to incorporate air into the frosting, making it even more delicious.
Frosting and Cutting the Brownies:
- Frost the Brownies: Once the brownies are completely cool, spread the frosting evenly over the top. You can use a spatula or an offset spatula for this.
- Cut into Squares: Cut the brownies into squares. The size of the squares is up to you, but I usually cut them into 2-inch squares.
- Serve and Enjoy: Serve the brownies immediately, or store them in an airtight container at room temperature for up to 3 days. They are also delicious chilled!
Tips for Perfect Lunch Lady Brownies:
- Use High-Quality Chocolate: The quality of the chocolate will greatly affect the flavor of the brownies. I recommend using a good-quality unsweetened chocolate for the best results.
- Don’t Overmix the Batter: Overmixing the batter can lead to tough brownies. Mix until just combined.
- Don’t Overbake the Brownies: Overbaking the brownies will make them dry and crumbly. Bake until a toothpick inserted into the center comes out with moist crumbs attached.
- Cool Completely Before Frosting: Frosting the brownies while they’re still warm will cause the frosting to melt and become runny.
- Adjust Sweetness to Taste: If you prefer a less sweet frosting, you can reduce the amount of powdered sugar.
- Add a Pinch of Salt to the Frosting: A pinch of salt in the frosting will help to balance the sweetness and enhance the flavor.
- Get Creative with Toppings: Feel free to add other toppings to the brownies, such as sprinkles, chocolate chips, or chopped nuts.
- Make Ahead: The brownies can be made ahead of time and stored in an airtight container at room temperature for up to 3 days. The frosting can also be made ahead of time and stored in the refrigerator for up to 3 days. Let the frosting come to room temperature before frosting the brownies.
- Freezing: These brownies freeze well. Wrap them tightly in plastic wrap and then in foil, or place them in a freezer-safe container. They can be frozen for up to 2 months. Thaw them overnight in the refrigerator before serving.
Variations:
- Chocolate Chip Brownies: Add 1 cup of chocolate chips to the batter.
- Peanut Butter Brownies: Swirl peanut butter into the batter before baking.
- Mint Chocolate Brownies: Add 1/2 teaspoon of peppermint extract to the batter and top with crushed peppermint candies after frosting.
- Espresso Brownies: Add 1 teaspoon of instant espresso powder to the batter.
- Cream Cheese Swirl Brownies: Swirl a mixture of cream cheese, sugar, and egg yolk into the batter before baking.
Troubleshooting:
- Brownies are too dry: You may have overbaked the brownies. Be sure to check them frequently while baking and remove them from the oven as soon as a toothpick inserted into the center comes out with moist crumbs attached.
- Brownies are too fudgy: You may have underbaked the brownies. Bake them for a few more minutes until a toothpick inserted into the center comes out with moist crumbs attached.
- Frosting is too thick: Add a little more milk to the frosting until it reaches your desired consistency.
- Frosting is too thin: Add a little more powdered sugar to the frosting until it reaches your desired consistency.
- Brownies are sticking to the pan: Be sure to grease and flour the pan well, or line it with parchment paper.

Conclusion:
So there you have it! These Lunch Lady Brownies are more than just a dessert; they’re a nostalgic trip back to simpler times, a comforting hug in every bite, and a guaranteed crowd-pleaser. I truly believe this recipe is a must-try for anyone who loves a classic, fudgy brownie with that signature creamy frosting. The combination of the rich, chocolatey base and the sweet, almost ethereal frosting is simply irresistible.
But why is this recipe so special? It’s the perfect balance of textures and flavors. The brownies themselves are dense and chewy, not cakey, which is exactly what you want in a truly decadent brownie. And that frosting? Oh, that frosting! It’s light, airy, and perfectly sweet, providing the ideal counterpoint to the richness of the brownie. It’s a symphony of deliciousness in every single square.
Beyond the incredible taste, these brownies are also incredibly easy to make. The recipe is straightforward, uses readily available ingredients, and doesn’t require any fancy equipment or complicated techniques. Even if you’re a novice baker, I’m confident you can whip up a batch of these Lunch Lady Brownies with ease.
Serving Suggestions and Variations:
While these brownies are absolutely divine on their own, there are plenty of ways to customize them to your liking. For a truly decadent experience, try serving them warm with a scoop of vanilla ice cream and a drizzle of chocolate sauce. Or, if you’re feeling adventurous, add a sprinkle of sea salt on top of the frosting for a sweet and salty treat.
Here are a few other variations to consider:
* Nutty Delight: Add chopped walnuts or pecans to the brownie batter for a bit of crunch and nutty flavor.
* Chocolate Chip Extravaganza: Fold in chocolate chips (milk, dark, or white) into the batter for an extra dose of chocolatey goodness.
* Peanut Butter Swirl: Swirl peanut butter into the brownie batter before baking for a delicious peanut butter and chocolate combination.
* Espresso Boost: Add a teaspoon of instant espresso powder to the brownie batter to enhance the chocolate flavor and give it a subtle coffee kick.
* Mint Chocolate Magic: Add a few drops of peppermint extract to the frosting for a refreshing mint chocolate flavor.
These are just a few ideas to get you started. Feel free to experiment and create your own unique version of these classic brownies!
Time to Bake!
I’m so excited for you to try this recipe and experience the magic of these Lunch Lady Brownies for yourself. I know you’ll love them as much as I do. They’re perfect for potlucks, bake sales, or simply a sweet treat to enjoy at home.
So, what are you waiting for? Preheat your oven, gather your ingredients, and get ready to bake a batch of the most delicious brownies you’ve ever tasted.
And most importantly, don’t forget to share your experience! I’d love to hear how your brownies turned out, what variations you tried, and what your friends and family thought of them. Share your photos and stories on social media using #LunchLadyBrownies or tag me in your posts. Let’s spread the brownie love! I can’t wait to see your creations and hear all about your baking adventures. Happy baking!
Lunch Lady Brownies: The Ultimate Recipe for School-Inspired Treats
Fudgy, rich brownies with a hint of cinnamon, perfect for satisfying your sweet tooth.
Ingredients
- 1 cup butter
- 1/2 cup shortening
- 2 cups sugar
- 4 eggs
- 1/4 cup cocoa
- 1 teaspoon vanilla
- 1 3/4 cups flour
- 1 teaspoon baking powder
- 1/2 teaspoon salt
- 1 cup buttermilk
Instructions
- Cream together the butter and sugars.
- Add the eggs and vanilla.
- Mix well.
- Add the flour, cocoa, baking powder, and salt.
- Mix well.
- Stir in chocolate chips.
- Pour into a greased 9×13 inch pan.
- Bake at 350 degrees for 20-25 minutes.
Notes
- For a thicker brownie, use an 8-inch square pan.
- For cakier brownies, add an extra egg.
- These brownies freeze well.


Leave a Comment