
Apple Pie Homemade: Is there anything that evokes feelings of warmth, comfort, and nostalgia quite like it? I think not! Imagine the aroma of cinnamon and baked apples wafting through your kitchen, a promise of the sweet, tangy, and utterly satisfying dessert to come. This isn’t just a recipe; it’s an invitation to create a memory, a tradition, and a slice of pure happiness.
The history of apple pie is as rich and layered as the pie itself. While apples aren’t native to America, the pie quickly became a symbol of American culinary identity. Early versions were often more savory than sweet, but over time, the addition of sugar and spices transformed it into the beloved dessert we know today. It’s a dish that has graced countless family tables, celebrated holidays, and provided solace during challenging times.
What is it about Apple Pie Homemade that makes it so universally adored? Perhaps it’s the perfect balance of sweet and tart, the tender apples nestled within a flaky, buttery crust. Or maybe it’s the sheer simplicity of the ingredients, transformed into something extraordinary with a little time and love. Whatever the reason, this classic dessert continues to captivate hearts and palates, generation after generation. So, let’s roll up our sleeves and bake a pie that will fill your home with warmth and your heart with joy!

Ingredients:
- For the Crust:
- 2 ½ cups all-purpose flour, plus more for dusting
- 1 teaspoon salt
- 1 cup (2 sticks) unsalted butter, very cold and cut into ½-inch cubes
- ½ cup ice water, plus more if needed
- 1 tablespoon apple cider vinegar (optional, but helps with flakiness)
- For the Apple Filling:
- 6-8 medium apples (such as Honeycrisp, Granny Smith, or Gala), peeled, cored, and sliced ¼-inch thick
- ¾ cup granulated sugar, plus more for sprinkling
- ¼ cup all-purpose flour
- 2 tablespoons lemon juice
- 2 teaspoons ground cinnamon
- ¼ teaspoon ground nutmeg
- ¼ teaspoon ground allspice
- 2 tablespoons unsalted butter, cut into small pieces
- 1 large egg, beaten (for egg wash)
Preparing the Crust:
- Combine Dry Ingredients: In a large bowl, whisk together the flour and salt. This ensures the salt is evenly distributed throughout the dough.
- Cut in the Butter: Add the cold, cubed butter to the flour mixture. Using a pastry blender or your fingertips (work quickly to prevent the butter from melting), cut the butter into the flour until the mixture resembles coarse crumbs. You should still see some pea-sized pieces of butter these are crucial for creating flaky layers.
- Add Wet Ingredients: Gradually add the ice water, one tablespoon at a time, mixing gently after each addition. The amount of water needed may vary depending on the humidity. Add the apple cider vinegar, if using. The dough should start to come together but shouldn’t be wet or sticky.
- Form the Dough: Turn the dough out onto a lightly floured surface. Gently gather the dough into a ball. Divide the dough in half, flatten each half into a disc, wrap tightly in plastic wrap, and refrigerate for at least 2 hours, or preferably overnight. This chilling time is essential for relaxing the gluten and allowing the butter to firm up, resulting in a tender and flaky crust.
Preparing the Apple Filling:
- Prepare the Apples: Peel, core, and slice the apples into ¼-inch thick slices. I like to use a combination of apple varieties for a more complex flavor. Honeycrisp adds sweetness, Granny Smith adds tartness, and Gala provides a nice texture.
- Combine Filling Ingredients: In a large bowl, combine the sliced apples, granulated sugar, flour, lemon juice, cinnamon, nutmeg, and allspice. Toss gently to coat the apples evenly. The flour will help to thicken the filling as it bakes, and the lemon juice will prevent the apples from browning.
Assembling and Baking the Pie:
- Preheat Oven: Preheat your oven to 425°F (220°C). Place a baking sheet on the lower rack of the oven to catch any drips.
- Roll Out the Bottom Crust: On a lightly floured surface, roll out one of the dough discs into a 12-inch circle. Carefully transfer the dough to a 9-inch pie plate. Trim the edges of the dough, leaving about a 1-inch overhang. Crimp the edges of the dough using your fingers or a fork to create a decorative border.
- Add the Filling: Pour the apple filling into the prepared pie crust. Dot the top of the filling with the small pieces of butter. This adds richness and flavor to the filling.
- Roll Out the Top Crust: On a lightly floured surface, roll out the remaining dough disc into a 12-inch circle. You can either place the entire circle over the filling or cut it into strips to create a lattice top.
- Prepare the Top Crust (Solid Crust Option): If using a solid top crust, cut several slits in the dough to allow steam to escape during baking. This will prevent the crust from puffing up and cracking. Carefully place the dough over the filling. Trim the edges of the dough, leaving about a 1-inch overhang. Crimp the edges of the dough together with the bottom crust to seal.
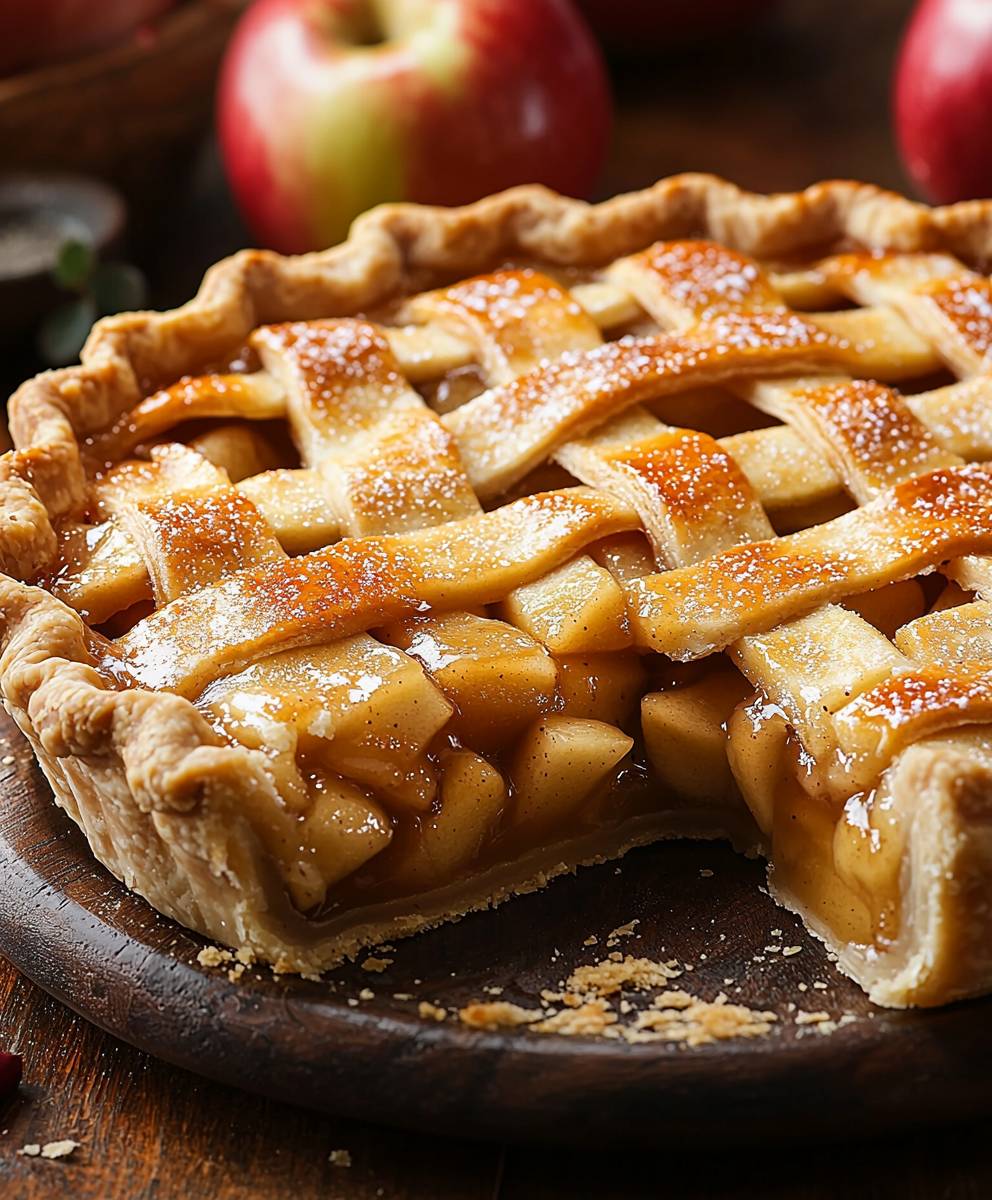
- Prepare the Top Crust (Lattice Crust Option): If using a lattice top, cut the rolled-out dough into even strips. Arrange the strips over the filling in a lattice pattern, weaving them over and under each other. Trim the edges of the strips and crimp them together with the bottom crust to seal.
- Egg Wash and Sugar: Brush the top crust with the beaten egg wash. This will give the crust a beautiful golden-brown color. Sprinkle the top crust with granulated sugar for added sweetness and sparkle.
- Bake the Pie: Bake the pie for 15 minutes at 425°F (220°C). Then, reduce the oven temperature to 375°F (190°C) and bake for an additional 45-50 minutes, or until the crust is golden brown and the filling is bubbling. If the crust starts to brown too quickly, you can cover the edges with aluminum foil.
- Cooling: Remove the pie from the oven and let it cool completely on a wire rack before slicing and serving. This allows the filling to set and prevents it from being too runny. I know it’s tempting to dig in right away, but trust me, it’s worth the wait!
Tips for the Perfect Apple Pie:
- Use Cold Ingredients: The key to a flaky pie crust is to use very cold ingredients. This prevents the butter from melting and allows it to create layers of steam during baking, resulting in a tender and flaky crust.
- Don’t Overwork the Dough: Overworking the dough will develop the gluten, resulting in a tough crust. Mix the dough just until it comes together, and avoid kneading it.
- Chill the Dough: Chilling the dough is essential for relaxing the gluten and allowing the butter to firm up. This will result in a more tender and flaky crust.
- Use a Variety of Apples: Using a combination of apple varieties will add complexity and depth of flavor to the filling.
- Don’t Overfill the Pie: Overfilling the pie can cause the filling to bubble over and make the crust soggy.
- Let the Pie Cool Completely: Letting the pie cool completely allows the filling to set and prevents it from being too runny.
Variations:
- Add Nuts: Add chopped walnuts or pecans to the filling for added texture and flavor.
- Add Caramel: Drizzle caramel sauce over the filling before baking for a decadent treat.
- Add Spices: Experiment with different spices, such as cardamom or ginger, to customize the flavor of the filling.
- Make Mini Pies: Use the same recipe to make individual mini apple pies. Simply divide the dough and filling into smaller portions and bake in muffin tins or small pie dishes.
- Crumble Topping: Instead of a top crust, you can use a crumble topping made from flour, butter, sugar, and oats.
Serving Suggestions:
- Serve warm with a scoop of vanilla ice cream or a dollop of whipped cream.
- Drizzle with caramel sauce or maple syrup.
- Sprinkle with cinnamon sugar.
- Enjoy with a cup of coffee or tea.
Storage:
- Store leftover apple pie in the refrigerator for up to 3 days.
- To reheat, warm in a preheated oven at 350°F (175°C) for 10-15 minutes, or until heated through.
Conclusion:
And there you have it! This Apple Pie Homemade recipe isn’t just another pie recipe; it’s a journey back to simpler times, a warm hug on a chilly day, and a guaranteed crowd-pleaser all rolled into one delicious package. I truly believe this is a must-try for anyone who appreciates the comforting flavors of fall and the satisfaction of creating something truly special from scratch. Why is it a must-try? Because it’s more than just apples and crust. It’s about the aroma that fills your kitchen as it bakes, the golden-brown perfection of the crust, and the burst of sweet and tart apple filling that melts in your mouth. It’s about creating a memory, a tradition, and a dessert that everyone will rave about. Plus, let’s be honest, there’s nothing quite like the feeling of accomplishment that comes with baking your own pie from start to finish. You’ll be so proud of yourself, and rightfully so! But the best part? This recipe is incredibly versatile. While I’ve shared my classic version, feel free to get creative! Want to add a little spice? A pinch of cinnamon, nutmeg, or even a dash of cardamom will elevate the flavor profile. Feeling adventurous? Try incorporating other fruits like pears or cranberries for a unique twist. For a richer flavor, consider using brown butter in the crust. The possibilities are endless! Serving suggestions? Oh, where do I even begin? A warm slice of this Apple Pie Homemade is divine on its own, but it’s even better with a scoop of vanilla ice cream melting on top. A dollop of freshly whipped cream is another classic choice. For a truly decadent experience, try drizzling it with caramel sauce. And if you’re feeling fancy, a sprinkle of chopped nuts adds a delightful crunch. Beyond the traditional toppings, consider serving it with a side of sharp cheddar cheese for a sweet and savory combination that’s surprisingly addictive. Or, for a lighter option, pair it with a cup of hot tea or coffee. No matter how you choose to serve it, I guarantee it will be a hit. I’ve poured my heart and soul into perfecting this recipe, and I’m so excited for you to try it. I truly believe that anyone, regardless of their baking experience, can successfully create this masterpiece. Don’t be intimidated by the thought of making your own pie crust with a little patience and practice, you’ll be a pro in no time. So, what are you waiting for? Gather your ingredients, preheat your oven, and get ready to embark on a baking adventure. I promise you won’t regret it. And most importantly, don’t forget to have fun! Baking should be a joyful experience, so relax, put on some music, and enjoy the process. Once you’ve tried this recipe, I would absolutely love to hear about your experience! Did you make any variations? What were your favorite toppings? What did your family and friends think? Share your photos and stories in the comments below. I can’t wait to see your creations and hear all about your Apple Pie Homemade adventures! Happy baking! Print
Apple Pie Homemade: The Ultimate Recipe for a Perfect Pie
- Total Time: 55
- Yield: 1 9-inch pie 1x
Description
A classic homemade apple pie with a flaky crust and a sweet, spiced apple filling. Perfect for any occasion!
Ingredients
- 6–8 medium apples, peeled, cored, and sliced
- 1/2 cup granulated sugar
- 1/4 cup all-purpose flour
- 1 teaspoon ground cinnamon
- 1/4 teaspoon ground nutmeg
- 2 tablespoons butter, cut into small pieces
- 1 box (14.1 ounces) refrigerated pie crusts
- 1 tablespoon milk or cream (optional, for brushing)
- 1 tablespoon granulated sugar (optional, for sprinkling)
Instructions
“`html
- Preheat oven to 425 degrees F (220 degrees C).
- Peel and core apples, then thinly slice.
- In a large bowl, mix apples with sugar, flour, cinnamon, nutmeg, and lemon juice.
- Roll out half of the pastry dough and place in a 9-inch pie plate.
- Pour apple mixture into the pie crust.
- Roll out the remaining pastry dough and place over the apple mixture. Cut slits in the top crust for venting.
- Brush the top crust with milk or egg wash and sprinkle with sugar.
- Bake for 15 minutes at 425 degrees F (220 degrees C), then reduce heat to 350 degrees F (175 degrees C) and bake for an additional 30-40 minutes, or until the crust is golden brown and the filling is bubbly.
- Let cool before serving.
“`
Notes
“`html
- Use a combination of apple varieties for the best flavor.
- Adjust the amount of sugar depending on the sweetness of your apples.
- For a golden crust, brush with an egg wash before baking.
- Let the pie cool completely before slicing to allow the filling to set.
“`
- Prep Time: 20 minutes
- Cook Time: 50


Leave a Comment