
Butterscotch Pie: just the name conjures up images of cozy kitchens, the comforting aroma of caramelizing sugar, and a slice of pure, unadulterated happiness. Have you ever tasted a dessert that feels like a warm hug? That’s exactly what this pie delivers. Forget the complicated pastries and fussy desserts; this is about simple pleasures done exceptionally well.
While the exact origins of butterscotch are debated, its roots are firmly planted in 19th-century England, where confectioners experimented with melting butter and sugar to create a hard candy. Over time, this delightful flavor found its way into countless desserts, including the beloved Butterscotch Pie. It’s a testament to the enduring appeal of simple, honest ingredients transformed into something truly special.
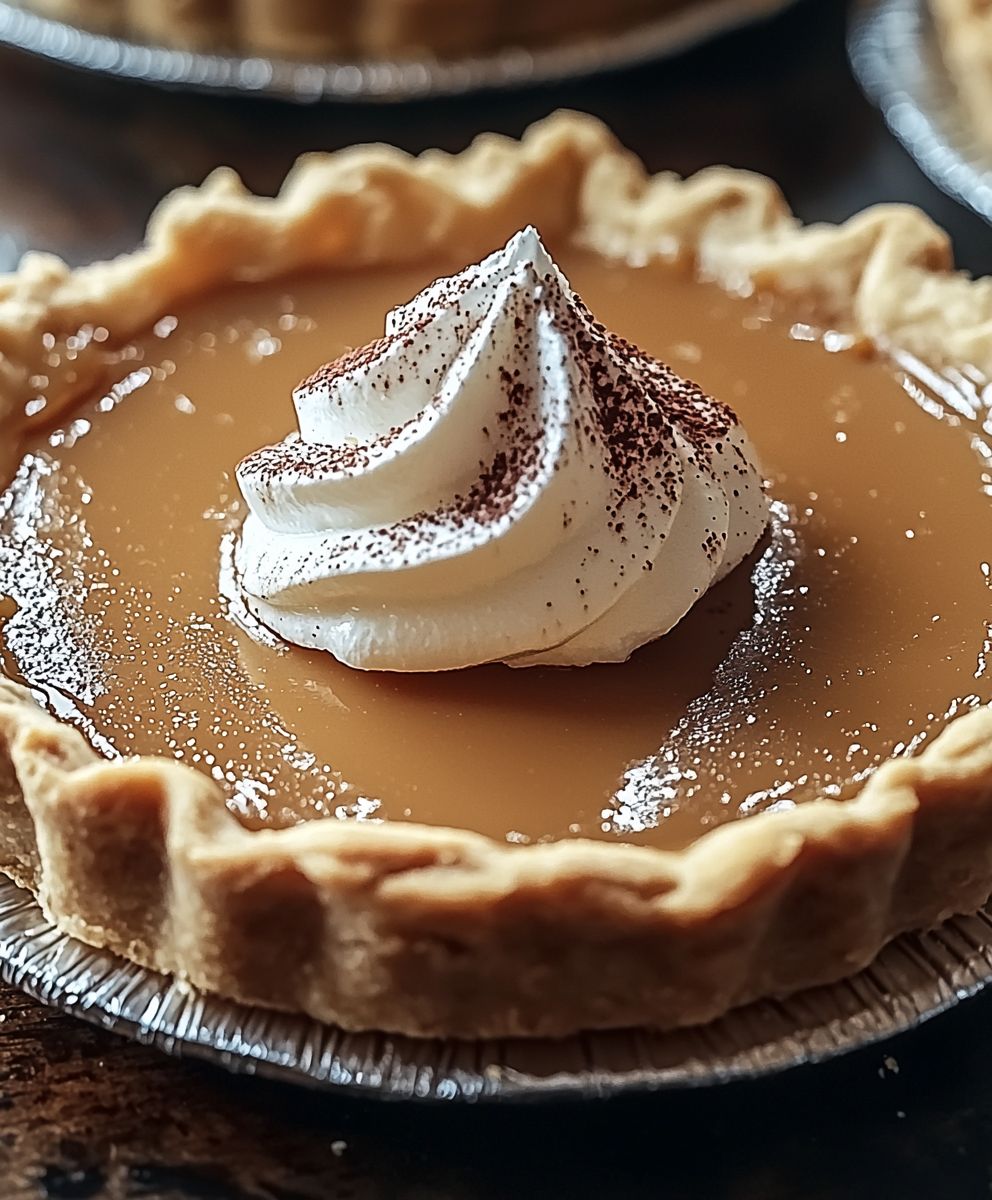
What is it about this pie that makes it so irresistible? Perhaps it’s the creamy, smooth filling that melts in your mouth, or the rich, buttery flavor that lingers on your palate. Maybe it’s the satisfying crunch of a perfectly baked pie crust that provides the perfect textural contrast. Whatever the reason, this pie is a crowd-pleaser, perfect for holidays, potlucks, or simply a well-deserved treat on a chilly evening. I’m excited to share my version of this classic dessert with you, a recipe that’s been perfected over generations and is guaranteed to bring a smile to your face.

Ingredients:
- For the Crust:
- 1 ½ cups all-purpose flour
- ½ teaspoon salt
- ½ cup (1 stick) cold unsalted butter, cut into cubes
- ¼ cup cold vegetable shortening, cut into cubes
- 5-7 tablespoons ice water
- For the Butterscotch Filling:
- 1 cup (2 sticks) unsalted butter
- 2 cups packed dark brown sugar
- ½ teaspoon salt
- 4 cups whole milk
- ½ cup cornstarch
- 2 teaspoons vanilla extract
- 2 tablespoons butterscotch schnapps (optional, but highly recommended!)
- For the Topping (Optional):
- 1 ½ cups heavy cream
- 3 tablespoons powdered sugar
- ½ teaspoon vanilla extract
- Butterscotch chips for garnish
Preparing the Crust:
- Combine Dry Ingredients: In a large bowl, whisk together the flour and salt. This ensures the salt is evenly distributed throughout the crust, which is crucial for flavor.
- Cut in the Fat: Add the cold butter and shortening to the flour mixture. Using a pastry blender or your fingertips (work quickly to keep the fat cold!), cut the fat into the flour until the mixture resembles coarse crumbs. You should still see small pieces of butter and shortening these are what create flaky layers.
- Add Ice Water: Gradually add the ice water, one tablespoon at a time, mixing gently after each addition. The amount of water you need will vary depending on the humidity. Stop adding water when the dough just comes together and is no longer dry. Be careful not to overmix, as this will develop the gluten and result in a tough crust.
- Form the Dough: Gently gather the dough into a ball. Flatten it into a disc, wrap it tightly in plastic wrap, and refrigerate for at least 30 minutes, or up to 2 days. This chilling time allows the gluten to relax, making the crust easier to roll out and preventing it from shrinking during baking.
- Roll Out the Dough: On a lightly floured surface, roll out the dough into a 12-inch circle. Make sure to rotate the dough as you roll to prevent it from sticking. If the dough becomes too warm and sticky, return it to the refrigerator for a few minutes.
- Transfer to Pie Plate: Carefully transfer the rolled-out dough to a 9-inch pie plate. Gently press the dough into the bottom and up the sides of the plate.
- Crimp the Edges: Crimp the edges of the crust using your fingers or a fork. You can also use a decorative crimper for a more elaborate look.
- Pre-bake the Crust (Blind Bake): Preheat your oven to 375°F (190°C). Line the pie crust with parchment paper and fill it with pie weights or dried beans. This will prevent the crust from puffing up during baking. Bake for 15-20 minutes, or until the edges are lightly golden brown.
- Remove Weights and Bake Further: Remove the parchment paper and pie weights. Prick the bottom of the crust with a fork to prevent it from puffing up. Return the crust to the oven and bake for another 5-10 minutes, or until the bottom is golden brown. Watch it carefully to prevent burning!
- Cool Completely: Let the baked pie crust cool completely on a wire rack before filling.
Making the Butterscotch Filling:
- Melt the Butter: In a large, heavy-bottomed saucepan, melt the butter over medium heat. Using a heavy-bottomed pan is important to prevent the butterscotch from scorching.
- Add Brown Sugar and Salt: Stir in the brown sugar and salt. Cook, stirring constantly, until the brown sugar is completely dissolved and the mixture is smooth. This usually takes about 2-3 minutes.
- Gradually Add Milk: Slowly pour in the milk, whisking constantly to prevent lumps from forming. Continue to whisk until the mixture is smooth and well combined.
- Bring to a Simmer: Bring the mixture to a simmer over medium heat, stirring occasionally.
- Prepare Cornstarch Slurry: In a small bowl, whisk together the cornstarch and ¼ cup of cold milk until smooth. This creates a slurry that will help thicken the filling without lumps.
- Thicken the Filling: Slowly pour the cornstarch slurry into the simmering butterscotch mixture, whisking constantly. Continue to cook, whisking constantly, until the filling thickens to a pudding-like consistency. This usually takes about 2-3 minutes. Be patient and keep whisking to prevent lumps!
- Remove from Heat: Remove the saucepan from the heat.
- Stir in Vanilla and Butterscotch Schnapps: Stir in the vanilla extract and butterscotch schnapps (if using). The butterscotch schnapps adds a wonderful depth of flavor, but it’s optional if you prefer a more classic butterscotch taste.
- Cool Slightly: Let the filling cool slightly for about 5-10 minutes before pouring it into the baked pie crust. This will help prevent the crust from becoming soggy.
Assembling the Pie:
- Pour Filling into Crust: Pour the warm butterscotch filling into the cooled baked pie crust. Spread it evenly to the edges.
- Cover and Chill: Cover the pie with plastic wrap, pressing it directly onto the surface of the filling to prevent a skin from forming. Refrigerate for at least 4 hours, or preferably overnight, to allow the filling to set completely.
Preparing the Topping (Optional):
- Chill Bowl and Whisk: Place a metal mixing bowl and whisk in the freezer for about 15 minutes to chill them. This will help the heavy cream whip up more quickly and easily.
- Whip the Cream: Pour the heavy cream into the chilled bowl. Add the powdered sugar and vanilla extract.
- Whip to Stiff Peaks: Using an electric mixer, whip the cream until stiff peaks form. Be careful not to overwhip, as this can turn the cream into butter.
- Decorate the Pie: Once the pie is chilled and set, remove the plastic wrap. Spread the whipped cream evenly over the top of the pie. You can also pipe the whipped cream into decorative swirls or rosettes.
- Garnish with Butterscotch Chips: Sprinkle butterscotch chips over the whipped cream for a final touch of flavor and visual appeal.
Serving and Storage:
- Slice and Serve: Slice the butterscotch pie and serve chilled.
- Storage: Store leftover pie in the refrigerator, covered, for up to 3 days. The crust may become slightly softer over time.
Conclusion:
This isn’t just another pie recipe; it’s a journey back to simpler times, a warm hug on a plate, and a guaranteed crowd-pleaser. The rich, buttery, and deeply satisfying flavor of this butterscotch pie is something you absolutely have to experience. From the first bite of the flaky crust to the last lingering taste of the creamy filling, you’ll understand why I’m so passionate about sharing this recipe with you. It’s more than just dessert; it’s a memory in the making. But why is this particular butterscotch pie a must-try? It’s the perfect balance of sweet and salty, the incredibly smooth texture, and the depth of flavor that comes from patiently caramelizing the butter and sugar. It’s a recipe that’s been honed and perfected over time, resulting in a pie that’s truly exceptional. Forget store-bought imitations; this is the real deal. Now, let’s talk about serving suggestions and variations because, let’s be honest, even perfection can be tweaked to suit your personal preferences! For a classic presentation, a dollop of freshly whipped cream is always a winner. The cool, light cream perfectly complements the richness of the butterscotch. If you’re feeling a little more adventurous, try topping it with a sprinkle of sea salt to enhance the butterscotch flavor even further. A few chopped pecans or walnuts would also add a delightful crunch and nutty dimension. Want to take it to the next level? Consider a scoop of vanilla bean ice cream alongside a warm slice. The contrast in temperature and texture is simply divine. Or, for a truly decadent experience, drizzle a little homemade salted caramel sauce over the top. Trust me, your taste buds will thank you. And don’t be afraid to experiment with the crust! While the classic pastry crust is always a good choice, you could also try a graham cracker crust for a slightly different flavor profile. Or, if you’re short on time, a store-bought crust will work in a pinch (though I highly recommend making your own when you can!). For a seasonal twist, consider adding a hint of cinnamon or nutmeg to the filling during the fall months. Or, for a chocolate lover’s dream, swirl in a tablespoon or two of melted dark chocolate into the butterscotch filling before pouring it into the crust. The possibilities are endless! Ultimately, the best way to enjoy this butterscotch pie is to share it with loved ones. It’s the perfect dessert for family gatherings, holiday celebrations, or simply a cozy night in. Imagine the smiles and compliments you’ll receive when you present this masterpiece! So, what are you waiting for? Gather your ingredients, preheat your oven, and get ready to create a truly unforgettable dessert. I’m confident that this recipe will become a staple in your kitchen, just as it has in mine. I’m so excited for you to try this recipe and experience the magic of homemade butterscotch pie for yourself. Once you’ve baked it, please come back and share your experience! I’d love to hear about any variations you tried, any tips you discovered, and, most importantly, how much you enjoyed it. Leave a comment below and let me know what you think. Happy baking! Print
Butterscotch Pie: The Ultimate Guide to Baking Perfection
- Total Time: 300 minutes
- Yield: 8 servings 1x
Description
Decadent butterscotch pie with a flaky homemade crust and rich, creamy filling. Top with whipped cream and butterscotch chips for the ultimate treat!
Ingredients
- 1 ½ cups all-purpose flour
- ½ teaspoon salt
- ½ cup (1 stick) cold unsalted butter, cut into cubes
- ¼ cup cold vegetable shortening, cut into cubes
- 5–7 tablespoons ice water
- 1 cup (2 sticks) unsalted butter
- 2 cups packed dark brown sugar
- ½ teaspoon salt
- 4 cups whole milk
- ½ cup cornstarch
- 2 teaspoons vanilla extract
- 2 tablespoons butterscotch schnapps (optional)
- 1 ½ cups heavy cream
- 3 tablespoons powdered sugar
- ½ teaspoon vanilla extract
- Butterscotch chips for garnish
Instructions
- Combine Dry Ingredients: In a large bowl, whisk together the flour and salt.
- Cut in the Fat: Add the cold butter and shortening to the flour mixture. Using a pastry blender or your fingertips (work quickly to keep the fat cold!), cut the fat into the flour until the mixture resembles coarse crumbs.
- Add Ice Water: Gradually add the ice water, one tablespoon at a time, mixing gently after each addition. Stop adding water when the dough just comes together and is no longer dry. Be careful not to overmix.
- Form the Dough: Gently gather the dough into a ball. Flatten it into a disc, wrap it tightly in plastic wrap, and refrigerate for at least 30 minutes, or up to 2 days.
- Roll Out the Dough: On a lightly floured surface, roll out the dough into a 12-inch circle. Rotate the dough as you roll to prevent sticking.
- Transfer to Pie Plate: Carefully transfer the rolled-out dough to a 9-inch pie plate. Gently press the dough into the bottom and up the sides of the plate.
- Crimp the Edges: Crimp the edges of the crust using your fingers or a fork.
- Pre-bake the Crust (Blind Bake): Preheat your oven to 375°F (190°C). Line the pie crust with parchment paper and fill it with pie weights or dried beans. Bake for 15-20 minutes, or until the edges are lightly golden brown.
- Remove Weights and Bake Further: Remove the parchment paper and pie weights. Prick the bottom of the crust with a fork. Return the crust to the oven and bake for another 5-10 minutes, or until the bottom is golden brown.
- Cool Completely: Let the baked pie crust cool completely on a wire rack before filling.
- Melt the Butter: In a large, heavy-bottomed saucepan, melt the butter over medium heat.
- Add Brown Sugar and Salt: Stir in the brown sugar and salt. Cook, stirring constantly, until the brown sugar is completely dissolved and the mixture is smooth.
- Gradually Add Milk: Slowly pour in the milk, whisking constantly to prevent lumps from forming. Continue to whisk until the mixture is smooth and well combined.
- Bring to a Simmer: Bring the mixture to a simmer over medium heat, stirring occasionally.
- Prepare Cornstarch Slurry: In a small bowl, whisk together the cornstarch and ¼ cup of cold milk until smooth.
- Thicken the Filling: Slowly pour the cornstarch slurry into the simmering butterscotch mixture, whisking constantly. Continue to cook, whisking constantly, until the filling thickens to a pudding-like consistency.
- Remove from Heat: Remove the saucepan from the heat.
- Stir in Vanilla and Butterscotch Schnapps: Stir in the vanilla extract and butterscotch schnapps (if using).
- Cool Slightly: Let the filling cool slightly for about 5-10 minutes before pouring it into the baked pie crust.
- Pour Filling into Crust: Pour the warm butterscotch filling into the cooled baked pie crust. Spread it evenly to the edges.
- Cover and Chill: Cover the pie with plastic wrap, pressing it directly onto the surface of the filling to prevent a skin from forming. Refrigerate for at least 4 hours, or preferably overnight, to allow the filling to set completely.
- Chill Bowl and Whisk: Place a metal mixing bowl and whisk in the freezer for about 15 minutes to chill them.
- Whip the Cream: Pour the heavy cream into the chilled bowl. Add the powdered sugar and vanilla extract.
- Whip to Stiff Peaks: Using an electric mixer, whip the cream until stiff peaks form.
- Decorate the Pie: Once the pie is chilled and set, remove the plastic wrap. Spread the whipped cream evenly over the top of the pie.
- Garnish with Butterscotch Chips: Sprinkle butterscotch chips over the whipped cream.
- Slice and Serve: Slice the butterscotch pie and serve chilled.
- Storage: Store leftover pie in the refrigerator, covered, for up to 3 days.
Notes
- Using cold ingredients for the crust is crucial for a flaky texture.
- Don’t overmix the crust dough, as this will develop the gluten and result in a tough crust.
- Blind baking the crust prevents it from becoming soggy.
- A heavy-bottomed saucepan is important to prevent the butterscotch from scorching.
- Whisk the butterscotch filling constantly to prevent lumps from forming.
- Butterscotch schnapps adds a wonderful depth of flavor to the filling, but it’s optional.
- Chilling the pie completely allows the filling to set properly.
- Chill the bowl and whisk before whipping the cream for best results.
- Prep Time: 45 minutes
- Cook Time: 40 minutes


Leave a Comment