
Cook lobster tails like a pro with my foolproof guide! Imagine sinking your teeth into succulent, buttery lobster meat, cooked to absolute perfection in your own kitchen. No need to brave crowded restaurants or pay exorbitant prices when you can easily create this gourmet experience at home.
Lobster has long been associated with luxury and celebration, gracing the tables of royalty and marking special occasions for centuries. From its humble beginnings as a plentiful food source for indigenous populations to its current status as a delicacy, the lobster’s journey is a fascinating one. Today, it remains a symbol of indulgence and a culinary highlight for seafood lovers worldwide.
What makes lobster tails so irresistible? Its the combination of the sweet, delicate flavor and the satisfyingly firm texture. Plus, they are surprisingly quick and easy to prepare, making them a fantastic option for a weeknight treat or an impressive dinner party centerpiece. Whether you prefer them grilled, baked, or broiled, learning how to cook lobster tails opens up a world of delicious possibilities. I’m going to show you how to achieve that perfect, tender result every single time. Get ready to impress yourself and your loved ones with this surprisingly simple yet undeniably elegant dish!

Ingredients:
- For the Grilled Cheese “Crusts”:
- 8 slices of your favorite bread (I prefer sourdough or a hearty Italian loaf)
- 4 tablespoons butter, softened
- 8 ounces shredded mozzarella cheese (or a blend of mozzarella and provolone)
- For the Pizza Sauce:
- 1 (15 ounce) can tomato sauce
- 1 teaspoon dried oregano
- 1/2 teaspoon dried basil
- 1/4 teaspoon garlic powder
- 1/4 teaspoon onion powder
- Pinch of red pepper flakes (optional)
- Salt and pepper to taste
- For the Toppings:
- 1/2 cup sliced pepperoni (or your favorite pizza toppings)
- 1/4 cup sliced black olives
- 1/4 cup chopped green bell pepper
- 1/4 cup sliced mushrooms
- Additional shredded mozzarella cheese for topping (optional)
Preparing the Pizza Sauce:
- In a small saucepan, combine the tomato sauce, oregano, basil, garlic powder, onion powder, and red pepper flakes (if using).
- Season with salt and pepper to taste. I usually start with 1/4 teaspoon of each and adjust from there.
- Bring the sauce to a simmer over medium heat.
- Reduce the heat to low and let it simmer for about 10-15 minutes, stirring occasionally. This will allow the flavors to meld together beautifully. Simmering the sauce is key to getting that rich, deep pizza flavor we all crave. Don’t skip this step!
- Remove the sauce from the heat and set aside.
Assembling the Grilled Cheese “Crusts”:
- Spread softened butter evenly on one side of each slice of bread. This is crucial for achieving that golden-brown, crispy exterior we all love in a grilled cheese.
- Place four slices of bread, butter-side down, on a clean work surface.
- Divide the shredded mozzarella cheese evenly among the four slices of bread. Make sure the cheese covers the entire surface of the bread, right up to the edges. This will help create a nice, cheesy seal.
- Top each slice of bread with another slice of bread, butter-side up. You now have four assembled grilled cheese sandwiches, ready to be transformed into pizza crusts!
Grilling the “Crusts” and Adding the Sauce:
- Heat a large skillet or griddle over medium heat. You want the skillet to be hot enough to melt the cheese and brown the bread, but not so hot that it burns the butter.
- Carefully place the assembled grilled cheese sandwiches in the hot skillet.
- Cook for about 3-4 minutes per side, or until the bread is golden brown and the cheese is melted and gooey. Keep a close eye on them to prevent burning. The cooking time may vary depending on your stove and the thickness of your bread.
- Once the grilled cheese sandwiches are cooked to perfection, remove them from the skillet and place them on a baking sheet lined with parchment paper. This will make it easier to transfer them to the oven later.
- Now comes the fun part: adding the pizza sauce! Spread an even layer of the prepared pizza sauce over the top of each grilled cheese “crust.” Don’t be shy with the sauce you want to make sure every bite is bursting with flavor.
Adding the Toppings and Baking:
- Arrange your desired pizza toppings over the sauce. I like to start with pepperoni, followed by black olives, green bell pepper, and mushrooms. Feel free to get creative and use your favorite pizza toppings!
- If you want an extra cheesy pizza, sprinkle additional shredded mozzarella cheese over the toppings. This is totally optional, but I highly recommend it!
- Preheat your oven to 350°F (175°C).
- Place the baking sheet with the topped grilled cheese pizzas in the preheated oven.
- Bake for about 5-7 minutes, or until the cheese is melted and bubbly and the toppings are heated through. Keep a close eye on them to prevent burning.
Serving and Enjoying:
- Remove the grilled cheese pizzas from the oven and let them cool for a minute or two before slicing.
- Use a pizza cutter or a sharp knife to slice each pizza into wedges.
- Serve immediately and enjoy! These grilled cheese pizzas are best enjoyed hot, when the cheese is melted and gooey and the crust is crispy.
- Optional: Sprinkle with a little bit of fresh basil or oregano for an extra touch of flavor and presentation.
Tips and Variations:
- Bread Choice: The type of bread you use can significantly impact the final result. I find that sourdough or a hearty Italian loaf works best, as they can hold up well to the sauce and toppings. However, you can use any bread you like, such as white bread, wheat bread, or even Texas toast.
- Cheese Blend: While mozzarella is the classic choice for pizza, you can experiment with different cheese blends. Try adding some provolone, cheddar, or even a little bit of Parmesan cheese for a more complex flavor.
- Topping Variations: The possibilities are endless when it comes to pizza toppings! Feel free to use your favorite toppings, such as sausage, bacon, onions, pineapple, or spinach.
- Spice It Up: If you like a little bit of heat, add a pinch of red pepper flakes to the pizza sauce or sprinkle some crushed red pepper over the finished pizzas.
- Garlic Butter: For an extra layer of flavor, try brushing the buttered side of the bread with garlic butter before grilling. Simply mix softened butter with minced garlic and a pinch of salt.
- Air Fryer Option: You can also cook these grilled cheese pizzas in an air fryer. Preheat your air fryer to 350°F (175°C) and cook for about 5-7 minutes, or until the cheese is melted and bubbly and the crust is golden brown.
- Make it Vegetarian: Omit the pepperoni and add more vegetables like bell peppers, onions, mushrooms, and spinach for a delicious vegetarian option.
- Add a drizzle of pesto: After baking, a drizzle of pesto adds a fresh and vibrant flavor.
- Use different sauces: Instead of tomato sauce, try using pesto, BBQ sauce, or even a creamy Alfredo sauce as the base for your pizza.
Storage Instructions:
If you have any leftover grilled cheese pizza, you can store it in an airtight container in the refrigerator for up to 2 days. To reheat, you can bake it in the oven at 350°F (175°C) for about 5-10 minutes, or until heated through. You can also reheat it in the microwave, but the crust may not be as crispy.
Nutritional Information (Approximate):
Please note that the nutritional information is an estimate and may vary depending on the specific ingredients used.
- Calories: Approximately 400-500 per serving (depending on toppings)
- Fat: 25-35 grams
- Protein: 20-25 grams
- Carbohydrates: 30-40 grams
Enjoy your homemade Grilled Cheese Pizza! I hope you and your family love it as much as we do!
Conclusion:
So there you have it! This Grilled Cheese Pizza isn’t just a recipe; it’s a culinary adventure waiting to happen. I truly believe this is a must-try because it’s the perfect marriage of comfort food and creative cooking. It’s quick, easy, and endlessly customizable, making it ideal for busy weeknights, fun weekend lunches, or even a playful appetizer for your next gathering. The crispy, buttery grilled cheese base topped with your favorite pizza flavors is a symphony of textures and tastes that will leave you wanting more.
But the best part? It’s incredibly versatile! Feel free to experiment with different cheeses. Sharp cheddar, creamy mozzarella, or even a blend of provolone and parmesan would all work beautifully. For a spicier kick, add a pinch of red pepper flakes to the tomato sauce or incorporate some jalapeños into your toppings. If you’re feeling adventurous, try using pesto instead of tomato sauce for a vibrant and herbaceous twist.
Serving Suggestions and Variations:
* Serve it with a side of marinara sauce for dipping.
* Add a sprinkle of fresh basil or oregano after baking for a burst of freshness.
* For a heartier meal, pair it with a simple green salad.
* Make mini grilled cheese pizzas using smaller slices of bread for a fun party snack.
* Try using different types of bread, such as sourdough or brioche, for a unique flavor and texture.
* For a vegetarian option, load it up with veggies like mushrooms, bell peppers, onions, and olives.
* If you’re a meat lover, add pepperoni, sausage, or bacon.
* Consider a white garlic sauce instead of tomato sauce for a different flavor profile.
* Don’t be afraid to get creative with your cheese combinations!
I’m confident that this Grilled Cheese Pizza will become a new family favorite. It’s a guaranteed crowd-pleaser that’s sure to impress even the pickiest eaters. The simplicity of the recipe makes it perfect for getting kids involved in the kitchen, and the endless customization options mean you can tailor it to everyone’s preferences.
I’m so excited for you to try this recipe and experience the magic of a grilled cheese pizza for yourself! I poured my heart into creating this recipe, and I truly believe it’s something special. It’s more than just a meal; it’s an experience. It’s about bringing people together, creating memories, and enjoying the simple pleasures of life.
So, what are you waiting for? Gather your ingredients, preheat your oven, and get ready to embark on a culinary adventure. I promise you won’t be disappointed.
And most importantly, I want to hear about your experience! Did you try any variations? What were your favorite toppings? What did your family think? Share your photos and stories in the comments below. I can’t wait to see what you create! Your feedback is invaluable, and it helps me continue to create recipes that you’ll love. Happy cooking!
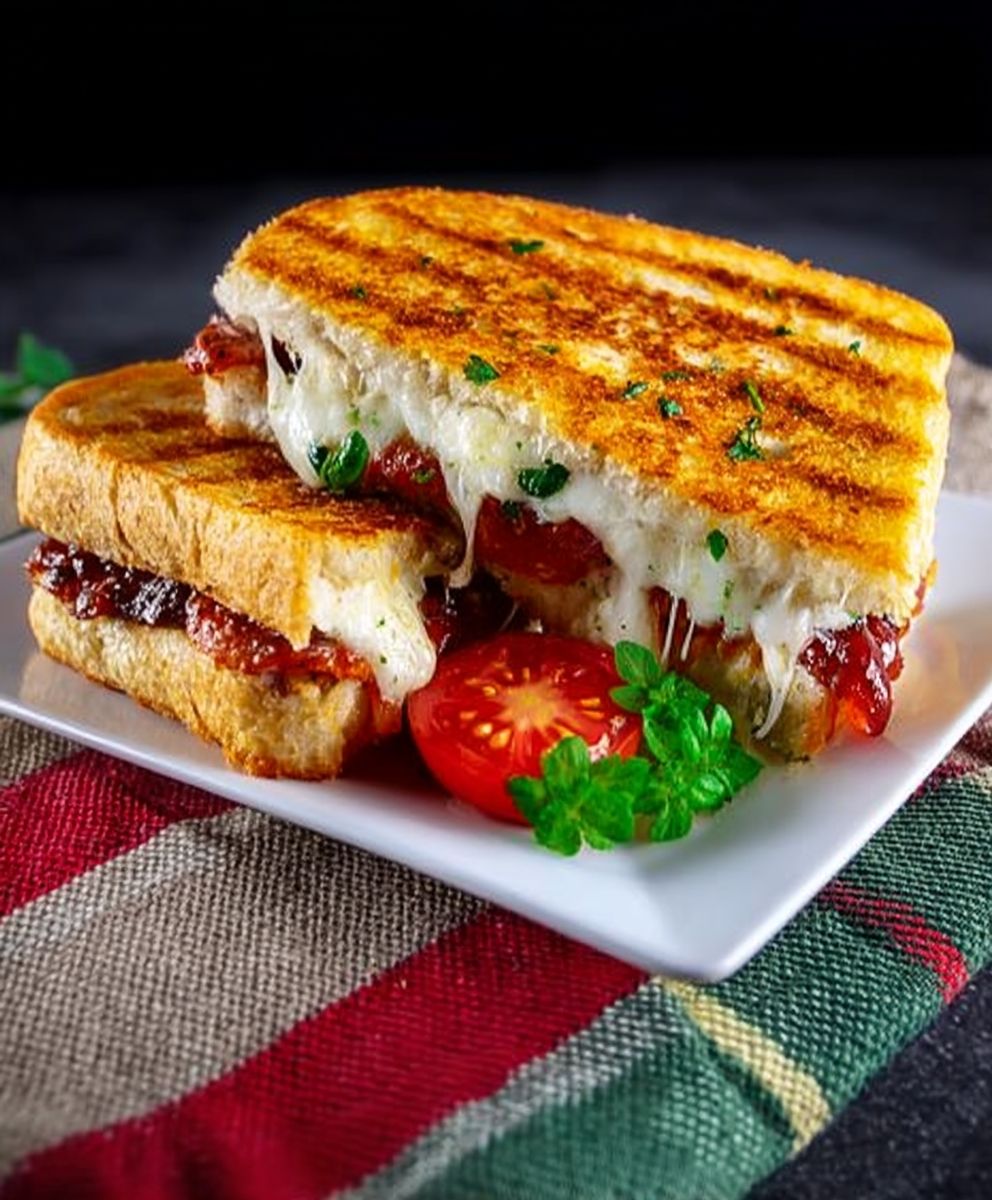
Grilled Cheese Pizza: The Ultimate Comfort Food Mashup
Combine the comfort of grilled cheese with the fun of pizza! This recipe features toasted bread slices topped with a savory tomato sauce, melted mozzarella cheese, and your favorite pizza toppings. A quick, easy, and satisfying meal or snack.
Ingredients
2 slices bread
2 slices cheddar cheese
2 tablespoons butter, softened
2 tablespoons pizza sauce
1/4 cup shredded mozzarella cheese
5 slices pepperoni
- 2 slices bread
- 2 slices cheddar cheese
- 2 tablespoons butter, softened
- 2 tablespoons pizza sauce
- 1/4 cup shredded mozzarella cheese
- 5 slices pepperoni
Instructions
- Preheat grill to medium-high heat.
- Brush both sides of the bread with olive oil.
- Place two slices of bread on the grill.
- Top each slice with mozzarella cheese, tomato slices, and basil leaves.
- Grill for 2-3 minutes, or until the cheese is melted and the bread is golden brown.
- Carefully remove the pizzas from the grill and top with a drizzle of balsamic glaze.
- Serve immediately.
Notes
- For a crispier crust, preheat the skillet over medium-high heat.
- Feel free to add your favorite pizza toppings!
- If you don’t have Italian seasoning, use a mix of oregano, basil, and thyme.


Leave a Comment