
Honey BBQ Chicken Tenders: Prepare to meet your new favorite weeknight dinner! Imagine sinking your teeth into juicy, perfectly cooked chicken tenders, coated in a sweet and smoky glaze thats utterly irresistible. These aren’t just any chicken tenders; they’re a flavor explosion waiting to happen, and I’m so excited to share this recipe with you.
Barbecue, in its many forms, has a rich and diverse history, tracing back to the Caribbean and evolving across cultures and continents. The combination of sweet honey and tangy barbecue sauce is a relatively modern twist, but it’s one that has quickly become a beloved classic. The beauty of Honey BBQ Chicken Tenders lies in their simplicity and universal appeal.
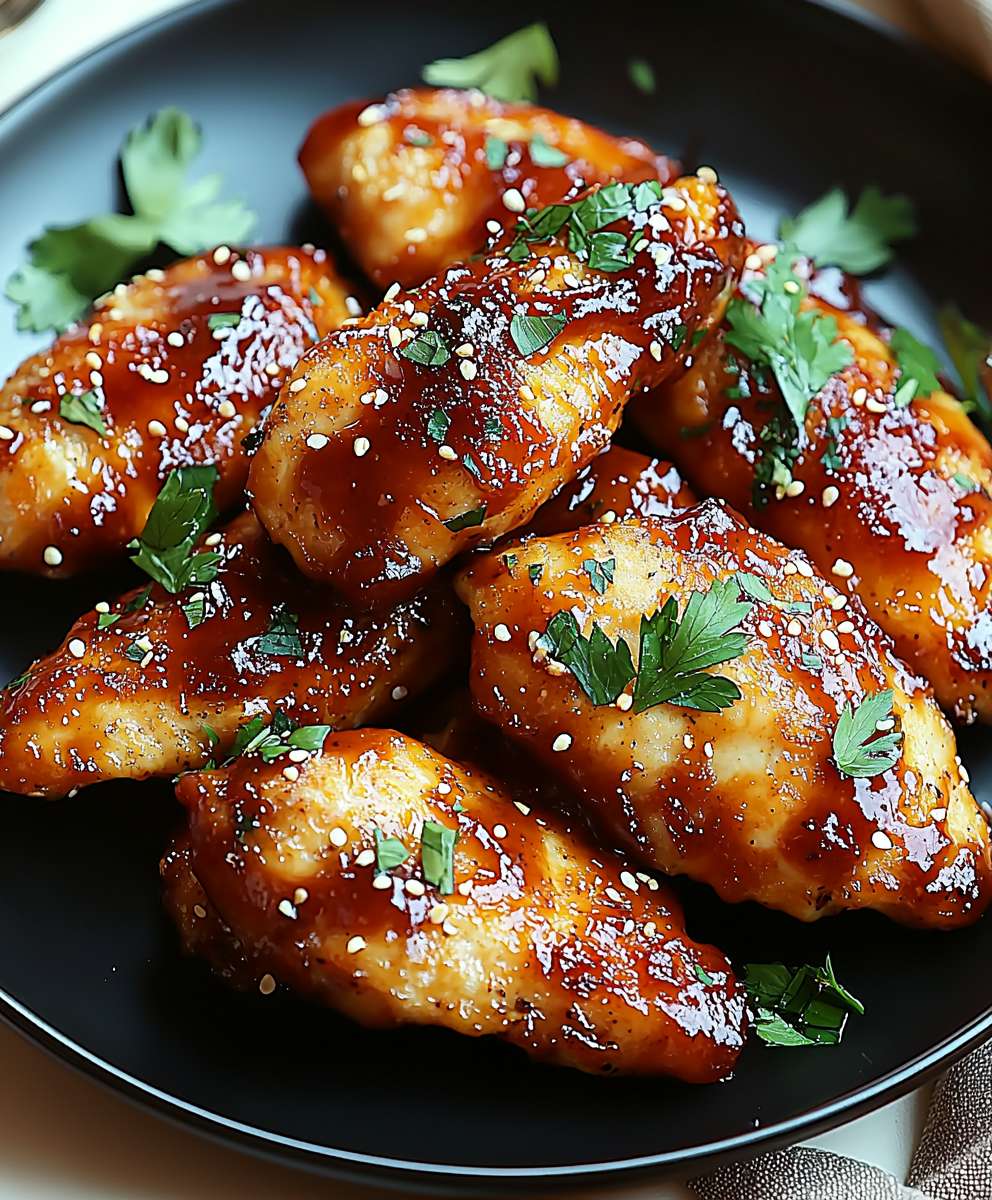
What makes these tenders so special? It’s the perfect balance of flavors the savory chicken, the smoky barbecue, and the touch of honey sweetness that elevates the entire dish. People adore them because they’re incredibly easy to make, requiring minimal ingredients and effort. Plus, they’re a guaranteed crowd-pleaser, perfect for family dinners, game-day gatherings, or even a quick and satisfying lunch. The tender, juicy texture and the sticky, flavorful sauce make them utterly addictive. Get ready to experience the best Honey BBQ Chicken Tenders you’ve ever tasted!

Ingredients:
- For the Chicken:
- 2 lbs boneless, skinless chicken breasts, cut into 1-inch strips
- 1 cup buttermilk
- 1 large egg
- 1 teaspoon salt
- 1/2 teaspoon black pepper
- 1 cup all-purpose flour
- 1/2 cup cornstarch
- 1 teaspoon garlic powder
- 1 teaspoon onion powder
- 1/2 teaspoon paprika
- 1/4 teaspoon cayenne pepper (optional, for a little kick!)
- For the Honey BBQ Sauce:
- 1 cup your favorite BBQ sauce (I prefer a smoky one!)
- 1/4 cup honey
- 2 tablespoons apple cider vinegar
- 1 tablespoon Worcestershire sauce
- 1 teaspoon smoked paprika
- 1/2 teaspoon garlic powder
- 1/4 teaspoon onion powder
- Pinch of cayenne pepper (optional)
- For Frying:
- Vegetable oil, for frying (about 4-6 cups, depending on your pot)
Preparing the Chicken
- Marinate the Chicken: In a large bowl, whisk together the buttermilk, egg, salt, and pepper. Add the chicken strips to the bowl, ensuring they are fully submerged in the buttermilk mixture. Cover the bowl with plastic wrap and refrigerate for at least 30 minutes, or up to 4 hours. The longer they marinate, the more tender and flavorful they’ll be! I usually aim for at least an hour.
- Prepare the Dredging Station: While the chicken is marinating, prepare your dredging station. In a separate large bowl, whisk together the flour, cornstarch, garlic powder, onion powder, paprika, and cayenne pepper (if using). Make sure everything is well combined. The cornstarch helps create a super crispy coating, so don’t skip it!
- Dredge the Chicken: Remove the chicken strips from the buttermilk marinade, letting any excess drip off. One at a time, dredge each chicken strip in the flour mixture, making sure it’s completely coated. Press the flour mixture onto the chicken to ensure it adheres well. Place the dredged chicken strips on a baking sheet lined with parchment paper. This will prevent them from sticking and make cleanup easier.
Making the Honey BBQ Sauce
- Combine the Ingredients: In a medium saucepan, combine the BBQ sauce, honey, apple cider vinegar, Worcestershire sauce, smoked paprika, garlic powder, onion powder, and cayenne pepper (if using).
- Simmer the Sauce: Place the saucepan over medium heat and bring the sauce to a simmer. Reduce the heat to low and let it simmer for about 10-15 minutes, stirring occasionally, until the sauce has thickened slightly and the flavors have melded together. This step is crucial for developing that rich, complex honey BBQ flavor. Taste and adjust seasonings as needed. If you prefer a sweeter sauce, add a little more honey. If you want more tang, add a splash more apple cider vinegar.
- Keep Warm: Once the sauce is ready, remove it from the heat and keep it warm until the chicken tenders are ready to be coated. You can keep it warm on the stovetop over very low heat, or transfer it to a slow cooker on the warm setting.
Frying the Chicken Tenders
- Heat the Oil: Pour vegetable oil into a large, heavy-bottomed pot or Dutch oven. You’ll need enough oil to fully submerge the chicken tenders. Heat the oil over medium-high heat to 350-375°F (175-190°C). Use a deep-fry thermometer to monitor the temperature of the oil. Maintaining the correct temperature is essential for crispy, evenly cooked chicken. If the oil is too hot, the chicken will burn on the outside before it’s cooked through. If the oil is too cold, the chicken will absorb too much oil and become greasy.
- Fry the Chicken: Carefully add the dredged chicken tenders to the hot oil in batches, being careful not to overcrowd the pot. Overcrowding will lower the oil temperature and result in soggy chicken. Fry the chicken tenders for about 3-5 minutes per side, or until they are golden brown and cooked through. The internal temperature of the chicken should reach 165°F (74°C). Use a meat thermometer to check for doneness.
- Drain the Chicken: Remove the fried chicken tenders from the oil using a slotted spoon or tongs and place them on a wire rack lined with paper towels to drain excess oil. This will help keep them crispy.
Coating and Serving
- Coat with Honey BBQ Sauce: Once all the chicken tenders are fried and drained, transfer them to a large bowl. Pour the warm honey BBQ sauce over the chicken tenders and toss to coat evenly. Make sure every piece is generously coated in that delicious sauce!
- Serve Immediately: Serve the honey BBQ chicken tenders immediately while they are still hot and crispy. They are best enjoyed fresh!
Serving Suggestions:
- Serve with your favorite dipping sauces, such as ranch dressing, blue cheese dressing, or extra honey BBQ sauce.
- Pair with classic sides like coleslaw, french fries, mashed potatoes, or corn on the cob.
- Make it a meal by serving the chicken tenders over a bed of rice or pasta.
- For a fun appetizer, serve the chicken tenders on skewers with a side of dipping sauce.
Tips for Success:
- Don’t Overcrowd the Pot: When frying the chicken, make sure not to overcrowd the pot. This will lower the oil temperature and result in soggy chicken. Fry the chicken in batches to ensure even cooking and maximum crispiness.
- Maintain the Oil Temperature: Use a deep-fry thermometer to monitor the temperature of the oil. Maintaining the correct temperature is essential for crispy, evenly cooked chicken.
- Don’t Overcook the Chicken: Overcooking the chicken will result in dry, tough tenders. Use a meat thermometer to check for doneness and remove the chicken from the oil when it reaches an internal temperature of 165°F (74°C).
- Let the Chicken Rest: After frying, let the chicken rest on a wire rack lined with paper towels to drain excess oil. This will help keep them crispy.
- Make the Sauce Ahead of Time: The honey BBQ sauce can be made ahead of time and stored in the refrigerator for up to 3 days. This will save you time on the day you plan to make the chicken tenders.
Variations:
- Spicy Honey BBQ Chicken Tenders: Add more cayenne pepper to the flour mixture and the honey BBQ sauce for a spicier kick. You can also add a pinch of red pepper flakes.
- Honey Garlic Chicken Tenders: Substitute the BBQ sauce with a honey garlic sauce. Combine honey, soy sauce, garlic, ginger, and a touch of sesame oil for a delicious Asian-inspired flavor.
- Baked Honey BBQ Chicken Tenders: For a healthier option, bake the chicken tenders instead of frying them. Preheat your oven to 400°F (200°C). Place the dredged chicken tenders on a baking sheet lined with parchment paper and bake for 20-25 minutes, or until they are golden brown and cooked through. Brush with honey BBQ sauce during the last 5 minutes of baking.
- Air Fryer Honey BBQ Chicken Tenders: Air frying is another great way to make these tenders healthier. Preheat your air fryer to 400°F (200°C). Place the dredged chicken tenders in the air fryer basket in a single layer, being careful not to overcrowd. Cook for 10-12 minutes, flipping halfway through, or until they are golden brown and cooked through. Brush with honey BBQ sauce during the last 2 minutes of cooking.
Storage Instructions:
- Leftover Chicken Tenders: Store leftover honey BBQ chicken tenders in an airtight container in the refrigerator for up to 3 days.
- Reheating: Reheat the chicken tenders in the oven, air fryer, or microwave. For best results, reheat in the oven or air fryer to maintain crispiness.
Conclusion:
And there you have it! These Honey BBQ Chicken Tenders are more than just a quick and easy meal; they’re a flavor explosion waiting to happen. I truly believe this recipe is a must-try for anyone looking to add a little sunshine and sweetness to their dinner routine. The combination of the smoky barbecue sauce and the golden honey creates a symphony of flavors that will have everyone reaching for seconds (and maybe even thirds!).
But why is this recipe so special? It’s the perfect balance of sweet and savory, the simplicity of the ingredients, and the sheer versatility of the finished product. These aren’t just chicken tenders; they’re a blank canvas for your culinary creativity. Plus, let’s be honest, who can resist a crispy, juicy chicken tender dipped in a delicious sauce?
Beyond the incredible taste, these Honey BBQ Chicken Tenders are incredibly adaptable. Feeling adventurous? Try adding a pinch of cayenne pepper to the marinade for a little kick. Want to make them even healthier? Bake them in the oven instead of frying. The possibilities are endless!
Here are a few serving suggestions to get you started:
* Classic Comfort: Serve them with a side of creamy coleslaw and crispy french fries for the ultimate comfort food experience.
* Salad Sensation: Top a fresh garden salad with these tenders for a protein-packed and flavorful lunch.
* Tender Tacos: Shred the chicken and use it as a filling for tacos, topped with your favorite salsa and toppings.
* Wrap It Up: Wrap the tenders in a warm tortilla with lettuce, tomato, and a drizzle of ranch dressing for a quick and easy meal on the go.
* Party Perfect: Serve them as appetizers at your next gathering with a variety of dipping sauces, such as ranch, blue cheese, or even a spicy sriracha mayo.
And don’t forget about variations! You can easily adapt this recipe to suit your dietary needs and preferences. Use gluten-free breadcrumbs for a gluten-free option, or substitute the chicken tenders with tofu for a vegetarian twist. You can even experiment with different types of honey, such as wildflower or buckwheat, to add a unique flavor profile.
I’m so excited for you to try this recipe and experience the magic of these Honey BBQ Chicken Tenders for yourself. I know you’ll love them as much as I do!
So, what are you waiting for? Head to the kitchen, gather your ingredients, and get ready to create a culinary masterpiece. I promise you won’t be disappointed.
Once you’ve made these delicious tenders, I would absolutely love to hear about your experience. Did you make any modifications? What were your favorite serving suggestions? Share your photos and stories in the comments below! Your feedback is invaluable and helps me continue to create recipes that you’ll love. Happy cooking! I can’t wait to see what you create! Don’t forget to share this recipe with your friends and family so they can enjoy these amazing tenders too!
Honey BBQ Chicken Tenders: The Ultimate Guide to Making Them
Crispy chicken tenders coated in a sweet and tangy honey BBQ sauce. Perfect as an appetizer, snack, or main course.
Ingredients
1. 1 kg Hähnchenbrustfilet
2. 2 TL Paprikapulver
3. 1 TL Knoblauchpulver
4. 1/2 TL Zwiebelpulver
5. 1/4 TL Cayennepfeffer
6. Salz und Pfeffer nach Geschmack
7. 240 ml Honig BBQ Sauce
8. 2 EL Olivenöl
9. Optional: Gehackte Petersilie zum Garnieren
Instructions
- Preheat oven to 400 degrees F (200 degrees C).
- Line a baking sheet with parchment paper.
- In a bowl, mix together the flour, salt, paprika, garlic powder, onion powder, and pepper.
- In another bowl, whisk together the eggs and milk.
- Dip each chicken tender in the flour mixture, then in the egg mixture, and then back in the flour mixture, making sure to coat each tender completely.
- Place the coated chicken tenders on the prepared baking sheet.
- Bake for 20-25 minutes, or until the chicken is cooked through and the coating is golden brown.
- While the chicken is baking, prepare the honey BBQ sauce.
- In a saucepan, combine the BBQ sauce and honey.
- Heat over medium heat until the honey is melted and the sauce is smooth.
- Once the chicken is cooked, brush each tender with the honey BBQ sauce.
- Serve immediately.
“`
Notes
- For best results, marinate the chicken tenders for at least 30 minutes, or up to 2 hours.
- Adjust the amount of honey and BBQ sauce to your preference.
- Serve immediately for the crispiest tenders.


Leave a Comment