
Praline Crunch: Just the name evokes images of sweet, buttery goodness, doesn’t it? I’m thrilled to share this recipe with you, because it’s not just a dessert; it’s an experience. Imagine sinking your teeth into a symphony of textures the smooth, creamy base perfectly contrasted by the irresistible, nutty crunch of homemade praline. This isn’t your average dessert; it’s a showstopper!
While the exact origins of praline are debated, many believe it traces back to 17th-century France, where it was created in honor of the Duke of Plessis-Praslin. Over time, the recipe evolved, spreading across the globe and adapting to local ingredients and tastes. In the American South, pralines became a beloved confection, often associated with New Orleans and its rich culinary heritage. But today, we’re taking it a step further by incorporating that classic praline flavor into a delightful crunch that will leave you wanting more.
So, why do people adore this Praline Crunch? It’s simple! The combination of sweet, salty, and nutty flavors is utterly addictive. The contrasting textures the smooth base and the satisfying crunch create a sensory delight. Plus, while it tastes incredibly decadent, it’s surprisingly easy to make at home. Whether you’re looking for a show-stopping dessert for a special occasion or a simple treat to satisfy your sweet tooth, this recipe is guaranteed to be a hit. Get ready to experience the magic of praline in a whole new way!

Ingredients:
- For the Praline:
- 1 cup (200g) granulated sugar
- 1/2 cup (120ml) water
- 1 cup (150g) hazelnuts, toasted and skinned
- 1 tablespoon unsalted butter
- 1/4 teaspoon sea salt
- For the Chocolate Base:
- 12 ounces (340g) high-quality dark chocolate (60-70% cacao), chopped
- 2 tablespoons unsalted butter
- 1/4 cup heavy cream
- 1/4 teaspoon sea salt
- For the Crunch Element:
- 1 cup crispy rice cereal
- 1/2 cup crushed waffle cones (optional, but highly recommended!)
Making the Praline
Okay, let’s start with the star of the show: the praline! This is where the magic happens, and it’s surprisingly easy to make once you get the hang of it. Don’t be intimidated by the sugar we’ll guide you through it.
- Prepare Your Workspace: Before you even turn on the stove, make sure you have everything ready. This is crucial because once the sugar starts to caramelize, things move quickly. Line a baking sheet with parchment paper or a silicone baking mat. Have your toasted hazelnuts measured out and ready to go.
- Combine Sugar and Water: In a medium-sized, heavy-bottomed saucepan, combine the granulated sugar and water. Use a wooden spoon to stir them together briefly, just until the sugar is moistened.
- Cook the Sugar Syrup: Place the saucepan over medium heat. Now, this is important: do not stir the mixture after this point! Stirring can cause sugar crystals to form, which will ruin your praline. Let the mixture come to a boil.
- Watch for Caramelization: As the sugar syrup boils, it will start to turn clear, then light golden, and finally a rich amber color. Keep a close eye on it! The color change happens quickly towards the end, and you don’t want to burn the sugar. Use a candy thermometer if you have one; the target temperature is around 338°F (170°C). If you don’t have a thermometer, rely on visual cues. You’re looking for a deep amber color.
- Add the Hazelnuts: Once the sugar has reached the desired color, immediately remove the saucepan from the heat. Add the toasted hazelnuts and the butter. Stir quickly and carefully with a wooden spoon to coat the hazelnuts evenly with the caramel. The mixture will bubble and steam, so be cautious.
- Pour and Spread: Pour the hazelnut-caramel mixture onto the prepared baking sheet. Use a spatula to spread it into a thin, even layer. This will help it cool and harden more quickly.
- Sprinkle with Salt: While the praline is still warm and slightly pliable, sprinkle it with sea salt. The salt enhances the sweetness and adds a lovely complexity to the flavor.
- Cool Completely: Let the praline cool completely at room temperature. This will take about 30-60 minutes. Don’t try to rush it by putting it in the refrigerator, as this can affect the texture.
- Break into Pieces: Once the praline is completely cool and hardened, break it into smaller pieces. You can do this by hand or by using a rolling pin to gently tap it. Be careful not to shatter it into dust; you want some nice, chunky pieces.
- Pulse in a Food Processor: Place the praline pieces in a food processor and pulse until you have a mixture of coarse crumbs and small chunks. You don’t want to grind it into a powder; the texture is key to the praline crunch. If you don’t have a food processor, you can place the praline in a large zip-top bag and crush it with a rolling pin.
Preparing the Chocolate Base
Now that the praline is ready, let’s move on to the chocolate base. This is where we’ll create a smooth, rich foundation for the praline crunch to sit on. Using high-quality chocolate is essential for the best flavor and texture.
- Chop the Chocolate: Finely chop the dark chocolate. This will help it melt evenly and smoothly.
- Melt the Chocolate: There are two ways to melt chocolate: using a double boiler or in the microwave.
- Double Boiler Method: Fill a saucepan with about an inch of water and bring it to a simmer. Place a heatproof bowl (glass or stainless steel) on top of the saucepan, making sure the bottom of the bowl doesn’t touch the water. Add the chopped chocolate and butter to the bowl. Stir occasionally until the chocolate and butter are completely melted and smooth.
- Microwave Method: Place the chopped chocolate and butter in a microwave-safe bowl. Microwave in 30-second intervals, stirring after each interval, until the chocolate is almost melted. Continue stirring until the remaining chocolate melts completely and the mixture is smooth. Be careful not to overheat the chocolate, as it can seize up.
- Add Heavy Cream and Salt: Once the chocolate is melted and smooth, stir in the heavy cream and sea salt. The heavy cream will add richness and smoothness to the chocolate, while the salt will enhance the flavor.
Adding the Crunch
This is where we bring everything together! The crispy rice cereal and crushed waffle cones (if using) add a delightful crunch that complements the rich chocolate and nutty praline.
- Combine Crunch Elements: In a medium-sized bowl, combine the crispy rice cereal and crushed waffle cones (if using). Gently toss them together to distribute them evenly.
- Incorporate into Chocolate: Pour the melted chocolate mixture over the crispy rice cereal and waffle cones. Use a spatula to gently fold the ingredients together until everything is evenly coated with chocolate. Be careful not to crush the cereal or waffle cones.
- Add Praline: Add about 3/4 of the prepared praline to the chocolate-cereal mixture. Gently fold it in, making sure to distribute it evenly. Reserve the remaining praline for topping.
Assembling and Setting
Almost there! Now we just need to spread the mixture out and let it set. This is the easiest part, but it’s important to do it right to get a nice, even finish.
- Prepare the Pan: Line an 8×8 inch square baking pan with parchment paper. Make sure the parchment paper overhangs the sides of the pan; this will make it easier to lift the praline crunch out later.
- Spread the Mixture: Pour the chocolate-cereal-praline mixture into the prepared pan. Use a spatula to spread it into an even layer.
- Top with Remaining Praline: Sprinkle the remaining praline over the top of the chocolate mixture. Gently press it into the surface to help it adhere.
- Chill to Set: Place the pan in the refrigerator and chill for at least 2 hours, or until the chocolate is completely set.
- Cut and Serve: Once the praline crunch is set, lift it out of the pan using the parchment paper overhang. Place it on a cutting board and use a sharp knife to cut it into squares or rectangles.
Tips for Success:
- Toast Your Hazelnuts: Toasting the hazelnuts before making the praline is crucial for enhancing their flavor. Spread the hazelnuts on a baking sheet and bake at 350°F (175°C) for 10-12 minutes, or until they are fragrant and the skins are starting to crack. Let them cool slightly, then rub them in a clean kitchen towel to remove the skins.
- Don’t Overcook the Caramel: Overcooked caramel will be bitter and hard. Keep a close eye on the sugar syrup as it caramelizes and remove it from the heat as soon as it reaches a deep amber color.
- Use High-Quality Chocolate: The quality of the chocolate will greatly affect the flavor of the praline crunch. Use a high-quality dark chocolate with a cacao content of 60-70% for the best results.
- Adjust Sweetness to Taste: If you prefer a less sweet praline crunch, you can reduce the amount of sugar in the praline recipe.
- Storage: Store the praline crunch in an airtight container at room temperature for up to a week.
Conclusion:
So, there you have it! This Praline Crunch recipe is truly something special, and I genuinely believe it’s a must-try for anyone who loves a delightful combination of textures and flavors. From the satisfying snap of the praline to the creamy, melt-in-your-mouth filling, every bite is an experience. It’s not just a dessert; it’s a little piece of edible art that’s surprisingly easy to create at home.
Why is it a must-try? Well, beyond the obvious deliciousness, this recipe is incredibly versatile. It’s perfect for impressing guests at a dinner party, adding a touch of elegance to a holiday gathering, or simply treating yourself to something extraordinary after a long day. The praline itself is a showstopper, adding a sophisticated crunch that elevates the entire dessert. And let’s be honest, who can resist the allure of homemade praline?
But the fun doesn’t stop there! This recipe is also incredibly adaptable. Feel free to experiment with different nuts in the praline. Pecans, almonds, or even walnuts would work beautifully. You could also add a pinch of sea salt to the praline for a sweet and salty twist that’s absolutely addictive.
As for serving suggestions, the possibilities are endless. Serve the Praline Crunch as is, alongside a scoop of vanilla ice cream, or with a dollop of whipped cream and fresh berries. For a more decadent treat, drizzle it with melted chocolate or caramel sauce. You could even crumble it over a cheesecake or use it as a topping for your favorite ice cream sundae.
If you’re feeling adventurous, try incorporating the praline into other desserts. Imagine praline-studded brownies, praline-infused cookies, or even a praline-topped coffee cake. The possibilities are truly limited only by your imagination!
I’ve poured my heart into perfecting this recipe, and I’m confident that you’ll love it as much as I do. It’s a guaranteed crowd-pleaser, and it’s sure to become a staple in your dessert repertoire.
So, what are you waiting for? Gather your ingredients, put on your apron, and get ready to create some magic in the kitchen. I promise you won’t regret it!
And most importantly, I’d absolutely love to hear about your experience making this Praline Crunch. Did you make any variations? Did you serve it in a particularly creative way? Share your photos and stories in the comments below! I can’t wait to see what you come up with. Happy baking!
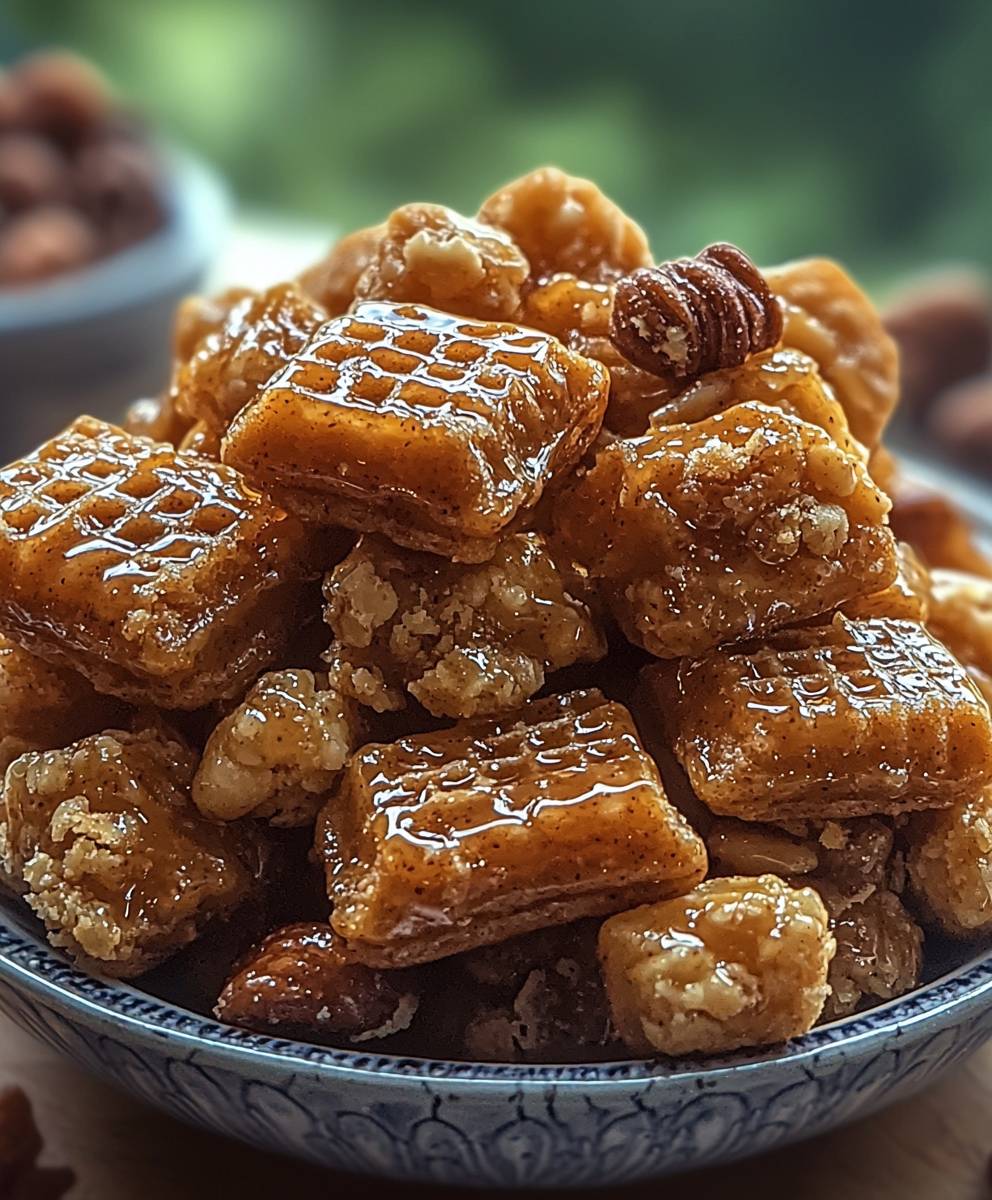
Praline Crunch: The Ultimate Guide to This Delicious Treat
Crunchy, sweet, and nutty praline candy. Perfect for snacking or topping desserts.
Ingredients
- 200g Zartbitterschokolade
- 100g Vollmilchschokolade
- 50g Butter
- 50ml Sahne
- 50g Haselnusskrokant
Instructions
- Melt the chocolate in a heatproof bowl set over a pan of simmering water, ensuring the base of the bowl doesn’t touch the water.
- Remove from the heat and stir in the puffed rice until evenly coated.
- Spoon the mixture into small paper cases or onto a baking sheet lined with parchment paper.
- Refrigerate for at least 30 minutes, or until set.
Notes
- Store in an airtight container in the refrigerator for up to 1 week.
- For a smoother texture, use a high-quality chocolate with a higher cocoa butter content.
- Feel free to experiment with different types of nuts or seeds for the praline.
“`


Leave a Comment