
Eggs Benedict, a brunch staple that effortlessly marries rich flavors and elegant presentation, is more than just a meal; it’s an experience. Imagine sinking your fork into a perfectly poached egg, its golden yolk cascading over a toasted English muffin, all embraced by the velvety smoothness of hollandaise sauce. Are you drooling yet?
The origins of this decadent dish are shrouded in a bit of mystery, with several competing claims vying for the title of “inventor.” Some say it was born at Delmonico’s in New York City in the 1860s, while others credit the Waldorf Astoria in the 1890s. Regardless of its true birthplace, Eggs Benedict quickly rose to prominence, becoming a symbol of refined taste and leisurely weekend mornings.
But what is it about this seemingly simple combination that has captivated brunch-goers for generations? It’s the symphony of textures and tastes, of course! The crispness of the toasted muffin, the yielding tenderness of the Canadian bacon (or ham), the delicate wobble of the poached egg, and the tangy, buttery richness of the hollandaise it’s a culinary masterpiece in every bite. Plus, let’s be honest, who can resist the sheer indulgence of a dish that feels both comforting and sophisticated? Get ready to learn how to make this classic dish at home!

Ingredients:
- 2 whole oranges (about 8 oz each), scrubbed well
- 6 large eggs
- 1 ½ cups granulated sugar
- ¼ teaspoon salt
- 1 ½ cups almond flour (or other gluten-free flour blend)
- 1 teaspoon baking powder
- Optional: powdered sugar for dusting
Preparing the Oranges:
Okay, let’s start with the star of the show: the oranges! This part is crucial because we’re using the whole fruit, peel and all. That’s where all the amazing citrus oils and flavor are, but we need to make sure they’re prepped properly.
- Wash and Scrub: First, give those oranges a really good scrub under warm water. You want to remove any dirt, wax, or anything else that might be clinging to the peel. I usually use a vegetable brush for this, but your hands work just fine too. Just be thorough!
- Boil the Oranges: Place the scrubbed oranges in a medium saucepan and cover them with water. Bring the water to a boil over medium-high heat. Once boiling, reduce the heat to a simmer and let the oranges cook for about 1 hour. This softens the peel and removes some of the bitterness. Don’t skip this step!
- Cool the Oranges: After an hour, carefully remove the oranges from the saucepan and let them cool completely. You can even let them cool overnight in the refrigerator. This makes them easier to handle and prevents them from scorching your blender.
- Preheat the Oven: While the oranges are cooling, preheat your oven to 350°F (175°C). Grease and flour a 9-inch springform pan. I like to use a springform pan because it makes it super easy to remove the cake later, but you can use a regular cake pan if you don’t have one. Just make sure to grease and flour it really well!
Making the Cake Batter:
Now that the oranges are prepped, we can move on to making the batter. This part is surprisingly easy, and it all comes together in a blender or food processor.
- Process the Oranges: Once the oranges are completely cool, cut them into quarters. Remove any seeds you see. Then, place the orange pieces into a blender or food processor. Process until the oranges are completely pureed. You want a smooth, almost liquid consistency. If you’re using a blender, you might need to add a tablespoon or two of water to help it along.
- Combine Wet Ingredients: In a large mixing bowl, whisk together the eggs, sugar, and salt until light and fluffy. This usually takes about 2-3 minutes with an electric mixer. You can also do it by hand, but it will take a bit longer.
- Add Orange Puree: Pour the pureed oranges into the egg mixture and stir until well combined. The mixture might look a little curdled at this point, but don’t worry, it will all come together in the end.
- Combine Dry Ingredients: In a separate bowl, whisk together the almond flour and baking powder. Make sure there are no lumps in the almond flour.
- Combine Wet and Dry: Gradually add the dry ingredients to the wet ingredients, mixing until just combined. Be careful not to overmix the batter, as this can make the cake tough. A few streaks of flour are okay.
Baking the Cake:
Almost there! Now it’s time to bake our beautiful whole orange cake.
- Pour into Pan: Pour the batter into the prepared springform pan, spreading it evenly.
- Bake: Bake in the preheated oven for 50-60 minutes, or until a wooden skewer inserted into the center comes out clean. The cake should be golden brown on top and spring back lightly when touched.
- Cool: Let the cake cool in the pan for 10-15 minutes before releasing it from the springform pan. Then, transfer the cake to a wire rack to cool completely.
Serving and Storage:
The cake is best served at room temperature. You can dust it with powdered sugar for a pretty presentation, but it’s delicious on its own too!
- Dust with Powdered Sugar (Optional): Once the cake is completely cool, dust it with powdered sugar if desired. This adds a touch of sweetness and makes it look extra fancy.
- Slice and Serve: Slice the cake and serve. It’s delicious with a cup of tea or coffee.
- Storage: Store the cake in an airtight container at room temperature for up to 3 days, or in the refrigerator for up to 5 days. You can also freeze the cake for longer storage. Wrap it tightly in plastic wrap and then in foil before freezing.
Tips and Variations:
Here are a few tips and variations to help you make the perfect whole orange cake:
- Orange Variety: You can use any type of orange for this recipe, but I prefer navel oranges or Valencia oranges. They’re sweet and juicy, and their peels have a lovely aroma.
- Almond Flour Substitute: If you don’t have almond flour, you can use another gluten-free flour blend. Just make sure it’s a blend that’s designed for baking.
- Citrus Zest: For an extra burst of citrus flavor, you can add the zest of one orange to the batter. Just be sure to zest the orange before you boil it.
- Chocolate Glaze: For a decadent twist, drizzle the cake with a chocolate glaze. Simply melt some chocolate chips with a little bit of butter or cream, and then pour it over the cake.
- Nuts: Add chopped nuts, such as almonds or walnuts, to the batter for added texture and flavor.
- Spices: Add a pinch of cinnamon or nutmeg to the batter for a warm, comforting flavor.
- Lemon or Lime: You can substitute one of the oranges with a lemon or lime for a different citrus flavor profile.
- Make it Vegan: To make this cake vegan, substitute the eggs with a flax egg (1 tablespoon ground flaxseed mixed with 3 tablespoons water per egg).
Troubleshooting:
Sometimes things don’t go exactly as planned in the kitchen. Here are a few common problems and how to fix them:
- Cake is Dry: If your cake is dry, it could be because you overbaked it. Make sure to check it frequently with a wooden skewer, and remove it from the oven as soon as the skewer comes out clean. You can also try adding a little bit of extra moisture to the batter, such as a tablespoon of oil or applesauce.
- Cake is Dense: If your cake is dense, it could be because you overmixed the batter. Be careful not to overmix the batter, as this can make the cake tough.
- Cake is Bitter: If your cake is bitter, it could be because you didn’t boil the oranges long enough. Make sure to boil the oranges for at least an hour to remove some of the bitterness from the peel.
- Cake Sticks to the Pan: If your cake sticks to the pan, it could be because you didn’t grease and flour the pan properly. Make sure to grease and flour the pan thoroughly before pouring in the batter. You can also use parchment paper to line the bottom of the pan.
Enjoy!
I hope you enjoy this recipe for whole orange cake! It’s a delicious and easy way to use up those oranges, and it’s perfect for any occasion. Let me know in the comments if you try it out!
Conclusion:
This Whole Orange Cake isn’t just another cake recipe; it’s a burst of sunshine in every bite, a testament to simple ingredients transformed into something truly extraordinary. The intense orange flavor, the moist and tender crumb, and the ease of preparation make it a winner in my book, and I’m confident it will be in yours too. Forget complicated recipes with endless steps this one is straightforward, satisfying, and delivers incredible results every single time.
Why is this a must-try? Because it’s more than just delicious; it’s an experience. The aroma that fills your kitchen as it bakes is intoxicating, a promise of the citrusy delight to come. And the taste? It’s a perfect balance of sweet and tangy, a refreshing treat that’s perfect for any occasion. Whether you’re looking for a show-stopping dessert for a dinner party or a simple afternoon treat to enjoy with a cup of tea, this cake fits the bill perfectly. Plus, the fact that it uses the whole orange peel and all! means you’re getting all the wonderful nutrients and oils that contribute to its unique flavor profile. It’s a win-win!
But the best part? It’s incredibly versatile! While I adore it just as it is, dusted with a simple coating of powdered sugar, there are so many ways to customize it to your liking.
Serving Suggestions and Variations:
* Glazed Goodness: For an extra touch of sweetness and shine, try drizzling it with a simple orange glaze made from powdered sugar and orange juice.
* Chocolate Orange Dream: Add chocolate chips to the batter for a decadent chocolate orange twist. Dark chocolate complements the citrus beautifully!
* Spiced Delight: A pinch of cinnamon, nutmeg, or cardamom can add warmth and depth to the flavor profile, especially during the cooler months.
* Nutty Crunch: Fold in chopped walnuts, pecans, or almonds for added texture and a nutty flavor.
* Citrus Symphony: Experiment with different citrus fruits! A combination of orange and lemon or even a touch of grapefruit can create a unique and complex flavor.
* Yogurt Topping: Serve a slice with a dollop of Greek yogurt or whipped cream for a lighter, yet satisfying dessert.
* Ice Cream Pairing: A scoop of vanilla bean or orange sherbet alongside a warm slice of this cake is pure heaven.
I truly believe that this Whole Orange Cake will become a staple in your baking repertoire. It’s the kind of recipe that you’ll turn to again and again, not just because it’s easy, but because it’s consistently delicious and always a crowd-pleaser.
So, what are you waiting for? Gather your ingredients, preheat your oven, and get ready to experience the magic of this incredible cake. I’m absolutely certain you’ll love it as much as I do.
And please, don’t be shy! Once you’ve tried it, I’d love to hear about your experience. Share your photos, your variations, and your thoughts in the comments below. Let me know what you loved about it, what you changed, and how you made it your own. Happy baking! I can’t wait to see what you create!
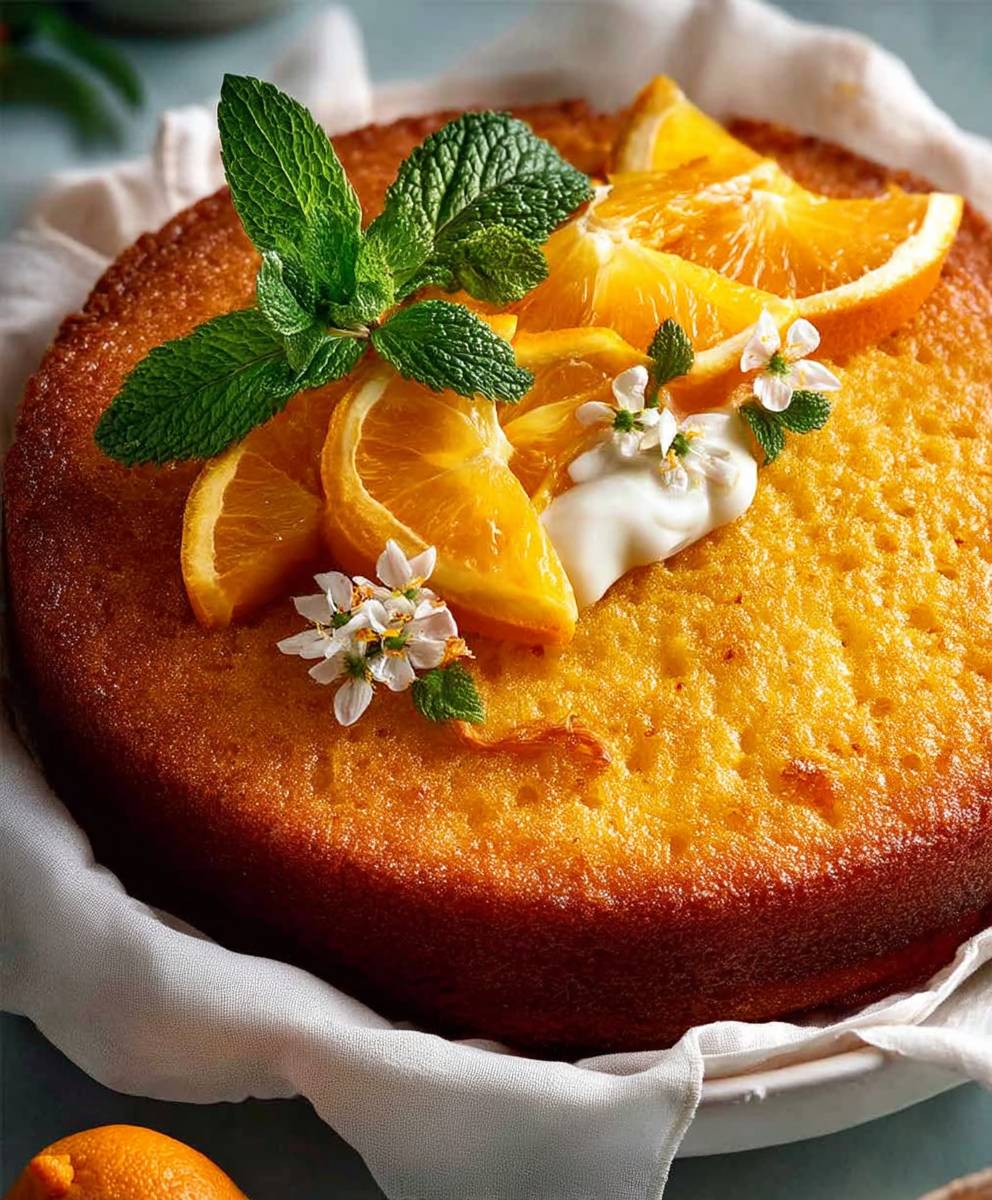
Whole Orange Cake: The Ultimate Recipe and Baking Guide
A moist and flavorful cake made with a whole orange, creating a unique citrusy taste and aroma.
Ingredients
1 whole orange (approx. 250g)
6 eggs
250g almond meal
1 tsp baking powder
150g sugar
- 1 whole orange (approx. 250g)
- 6 eggs
- 250g almond meal
- 1 tsp baking powder
- 150g sugar
Instructions
- Preheat the oven to 180°C (160°C fan/Gas Mark 4). Grease and line a 20cm round cake tin.
- Place the whole oranges in a saucepan and cover with cold water. Bring to the boil and simmer for 2 hours, or until the oranges are very soft. Drain and cool slightly.
- Cut the oranges into quarters and remove any pips. Place the oranges in a food processor and blend until smooth.
- In a large bowl, cream together the butter and sugar until light and fluffy. Beat in the eggs one at a time, then stir in the orange puree.
- Gradually add the flour and baking powder, mixing until just combined.
- Pour the batter into the prepared cake tin and bake for 1 hour, or until a skewer inserted into the centre comes out clean.
- Let the cake cool in the tin for 10 minutes before transferring it to a wire rack to cool completely.
“`
Notes
- Cake is best stored in an airtight container at room temperature for up to 3 days or in the refrigerator for up to 5 days.
- You can use any type of orange for this recipe, but I prefer using navel oranges because they are sweet and juicy.
- If you don’t have self-rising flour, you can make your own by combining 1 cup of all-purpose flour with 1 1/2 teaspoons of baking powder and 1/4 teaspoon of salt.


Leave a Comment